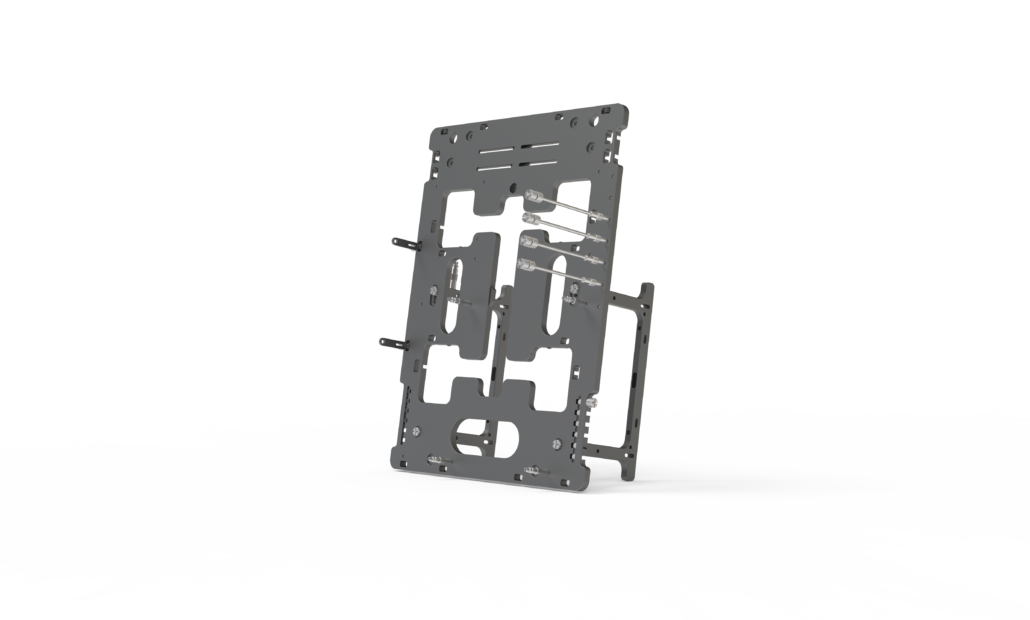
OBT V2 Step-By-Step assembly guide
With the BC1 V2 shipping worldwide, we figured that it would be the perfect time to update our assembly guide to better reflect the new features.
So, here we are with our detailed, step-by-step assembly and use guide for the Open Benchtable. This is also is our always up-to-date user-guide/manual.
The instructions provided here are valid for the V2 of the Open Benchtable. If you are still rocking a previous edition we got you covered. If you are a mini build adept, our step-by-step guide for the OBT Mini is available aswell.
On the Open Benchtable, there is no limitation on motherboard sizes, as long as they fit some of the standard mounting holes. There is also no hard limit on the CPU cooler or GPU sizes.
To start, pick up the OBT from its packaging. If you choose not to keep it, please consider reusing it for something else or recycling it!
Assembling the feet
To release the feet, unscrew the four screws holding the feet to the structure. Using these screws, assemble the feet directly in the two holes on each side of the benchtable as marked in the picture below.
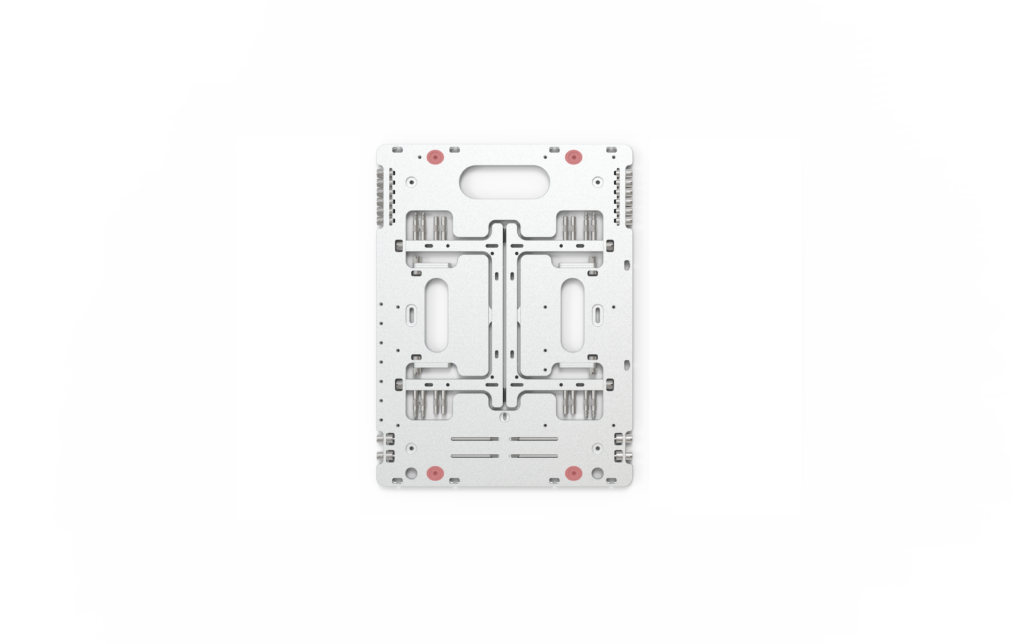
Note that the laser engraving with the Serial number, logo and marking is always under the Open Benchtable.
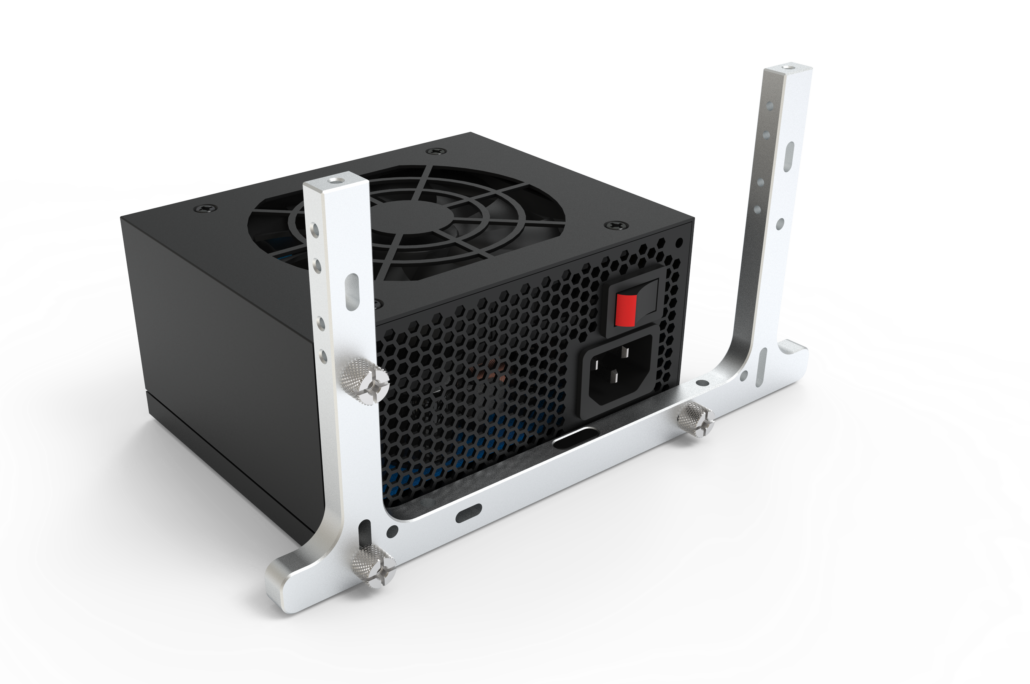
Attaching the PSU
The OBT V2 is compatible with the ATX 12V, ATX Large, ATX-EPS, BTX and now the SFX power supply formats.
Note that the screws used for holding the PSU and the feet to the main body are 6#32 when everything else on the OBT uses M3. (NB: OBT v2 use 6#32 screws for the feet while previous version used M3)
The 6#32 screws can be found on the left side of the table, while spare M3 screws are on the right side.
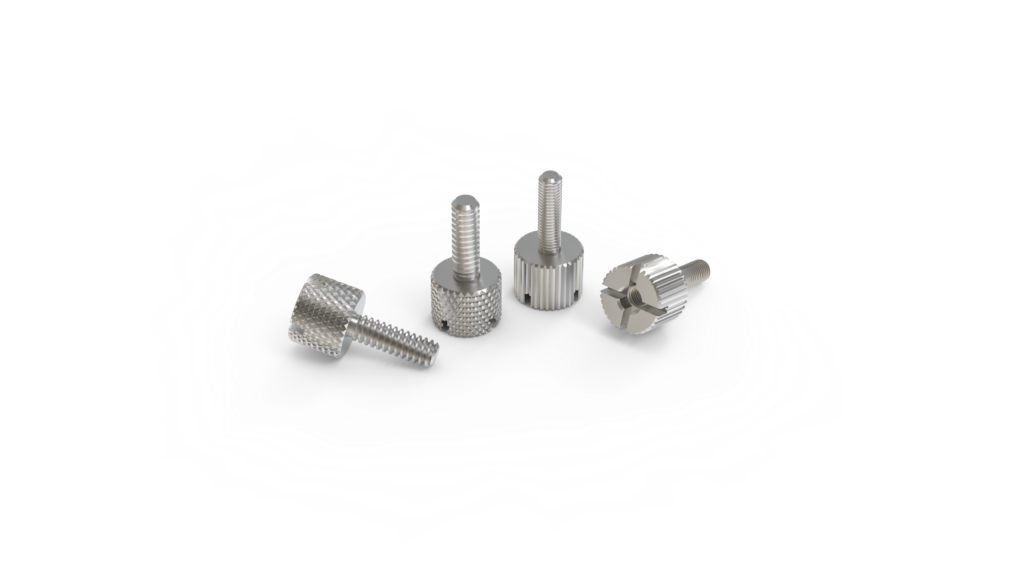
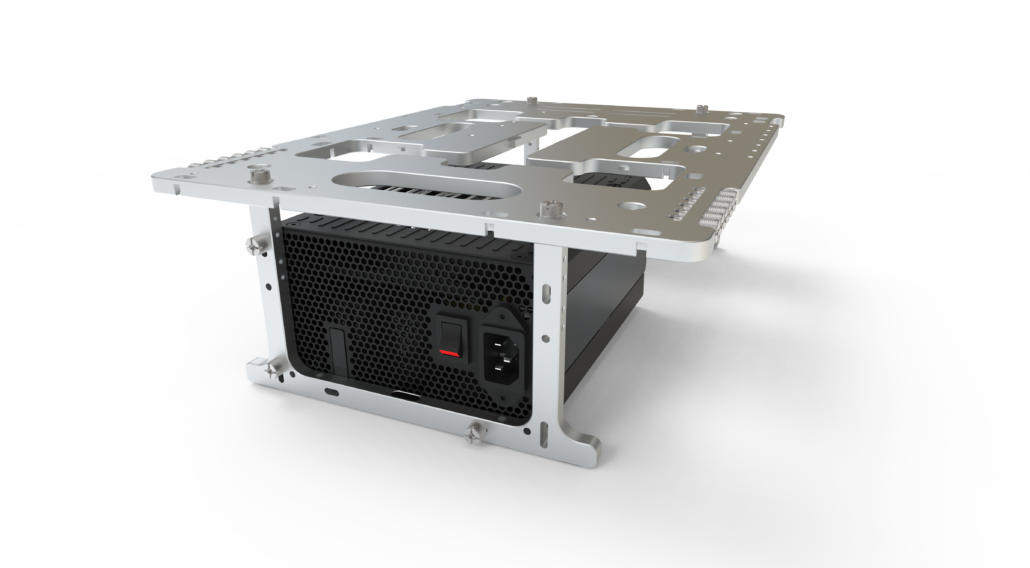
The PSU can be attached with the fan facing up or down, but it is recommended to use your PSU with the fan facing up. You will only need three 6#32 screws to hold the PSU to the Open Benchtable foot. This is the same process for ATX and SFX power supplies.
There are multiple wasy of attaching the PSU, feel free to explore possibilities.
Attach this under the top handle for better compatibility with the storage (see later).
Assembling the CPU/RAM/Air Cooler
At this stage, you should mount the CPU, RAM and retention bracket for your CPU cooler.
The new support brackets can be used in a wide array of scenarios depending on how you orient them, accomodating typical 120mm , 140mm, 240mm and 280mm mounting. This help support a wide range of radiators, even large ones.
Tips from the team: In case you build with watercooling radiators or large All-In-One watercooling kits in a non-conventional approach (see the last step) : Hook your radiators before the motherboard.
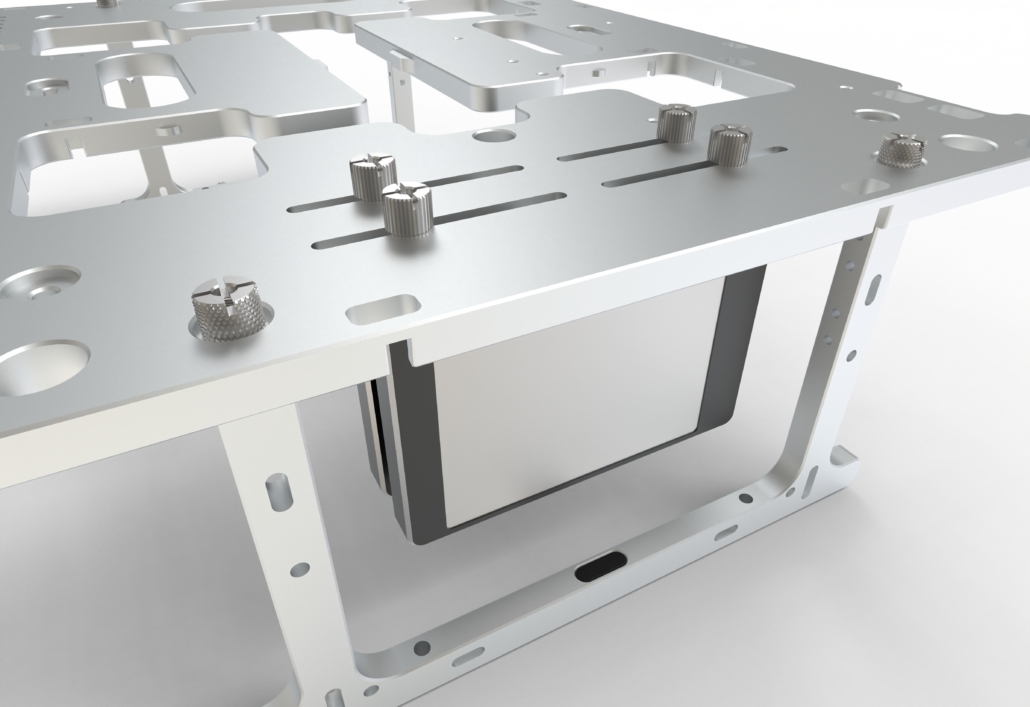
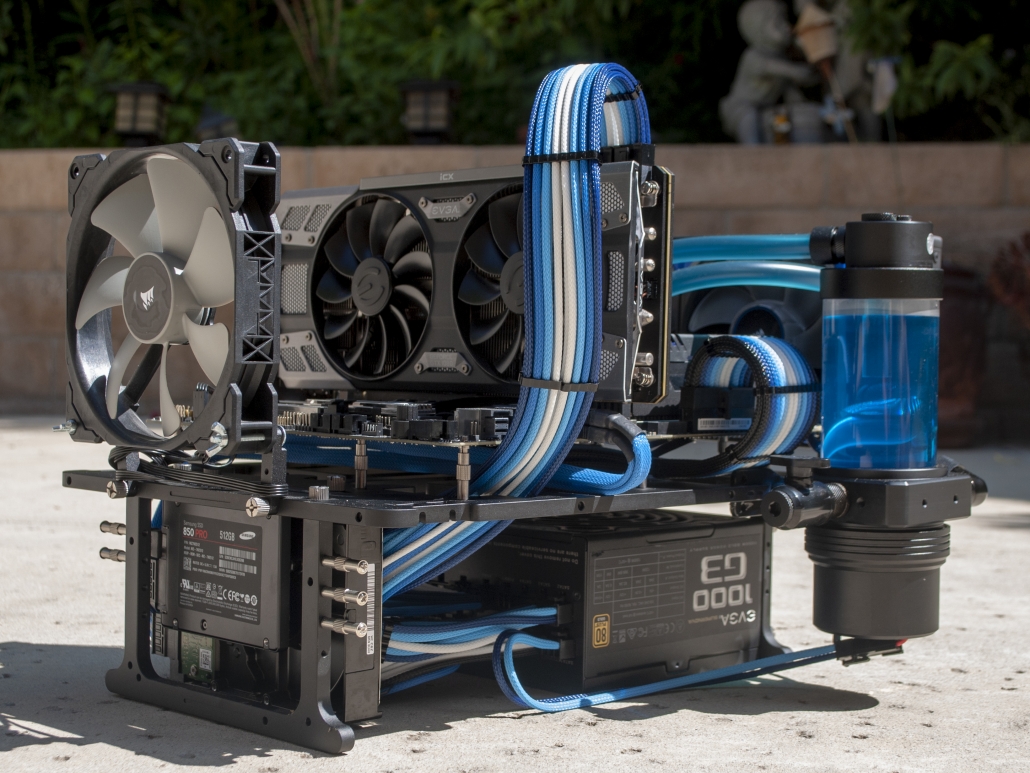
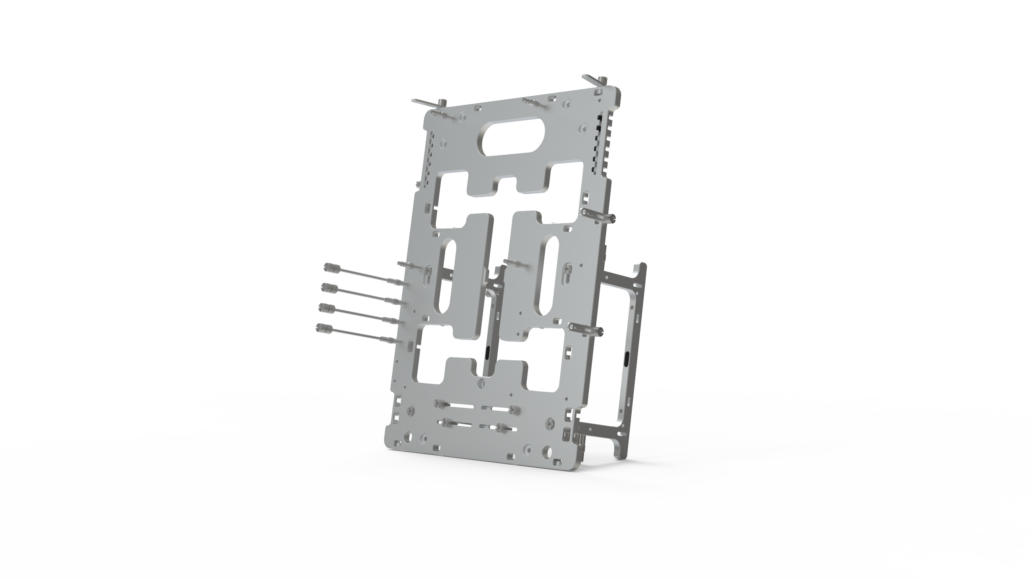
Securing the motherboard
To secure your motherboard on the OBT you need the standoffs located on the feet.
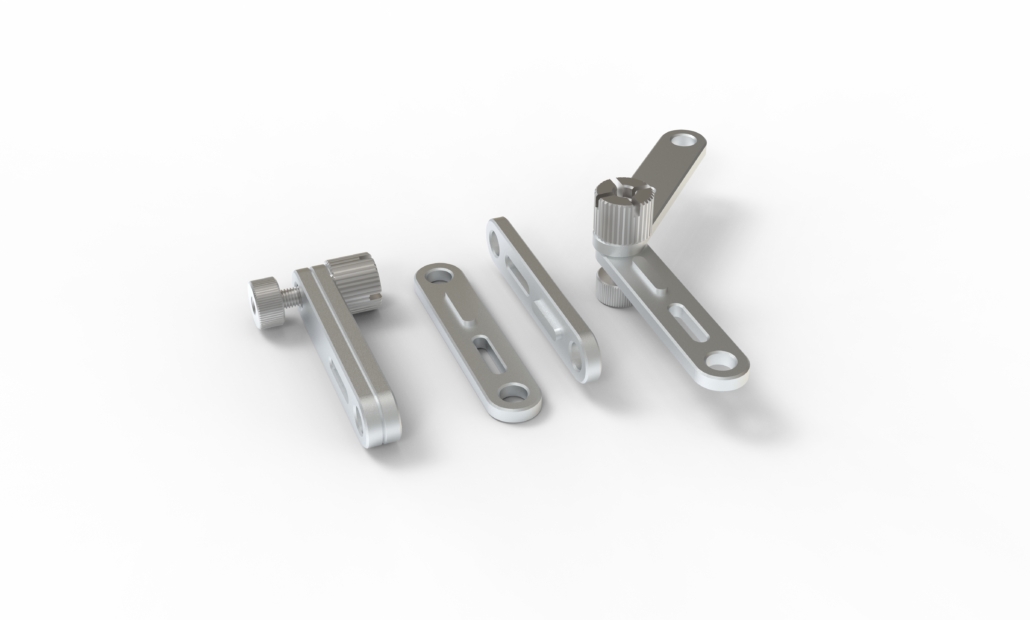
There are two types of standoffs:
- Push-pins : our fast mounting push-pin standoffs for motherboard support.
- Screw-in : the usual screw standoffs that help you secure the motherboard and PCI-Express support rods.
You can use whichever type suits your needs best.
Attach the standoffs on the mounting point that accommodate your motherboard. You can hold the nut from under the table when attaeching them for easier tightening!
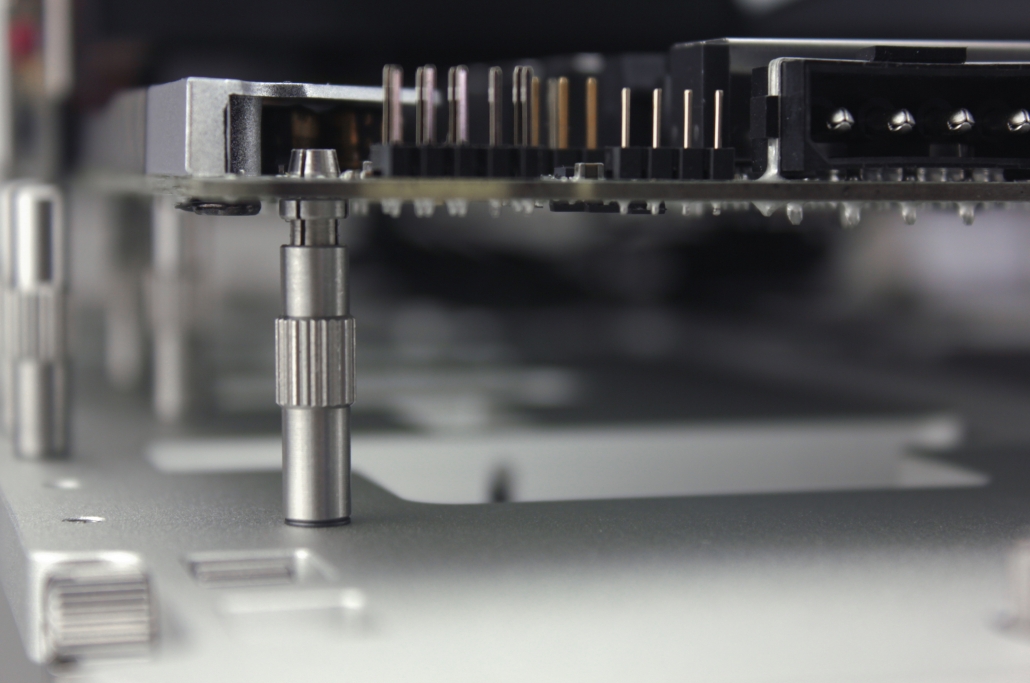
Tips from the team: we usually go for one conventional standoff in the center and push-pins for the others!
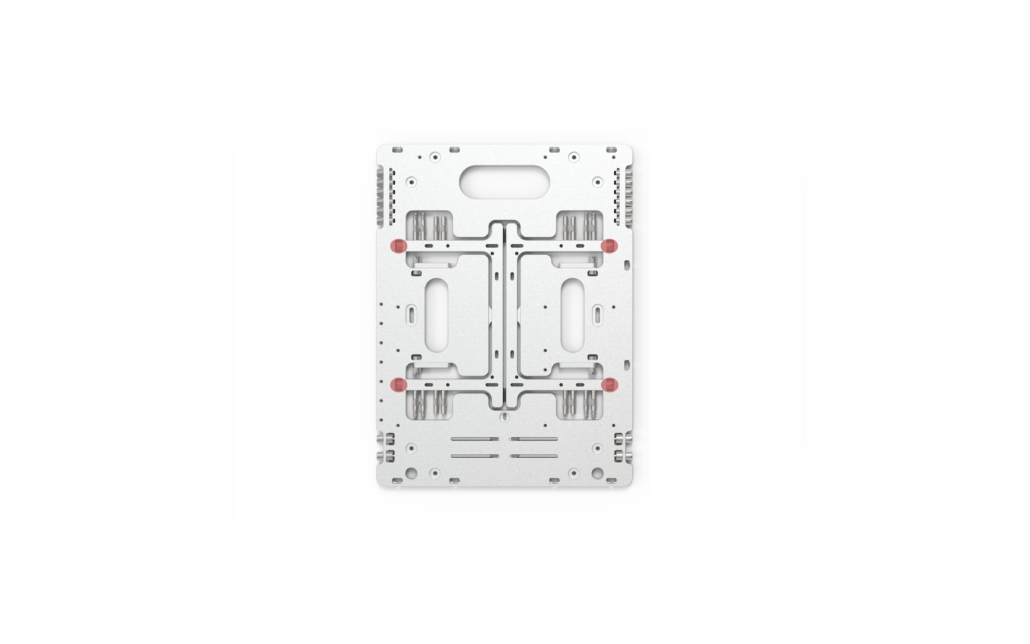
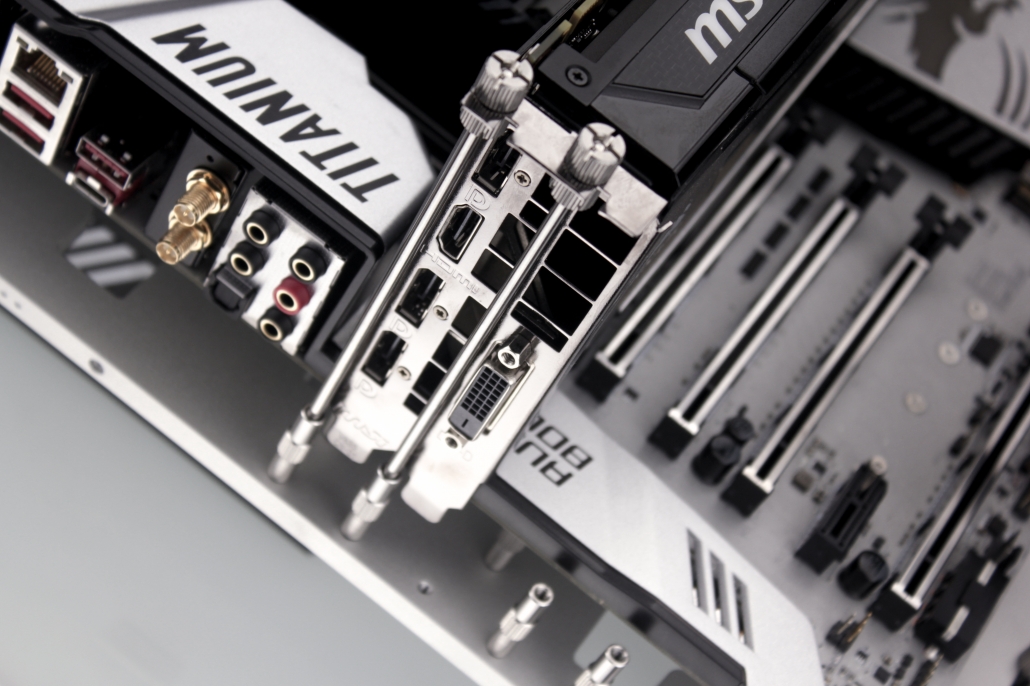
Securing the GPU
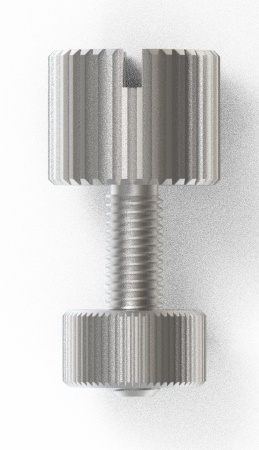
At the bottom of the OBT frame are four PCI-E thumbscrews. For each PCI-E support, you will need a screw-type standoff (from the step above).
Attach the PCI-E thumbscrews to the standoffs, and align on your OBT to fit your GPU.
Remove the top nuts and insert your GPU, the thumbscrews should line up with the GPU. Once done, tighten the nuts onto the top of the PCI-E standoffs.

Attach storage
You can easily attach up to two storage devices at the bottom part of the OBT.
The Open Benchtable supports 2.5″ SSD or HDD of 7mm and 9.5mm z-height (thickness). You can attach a regular 3.5″ HDD as well.
Use the M3 screws provided with the Open Benchtable to secure your SSDs and the 6#32 for large-size HDD .
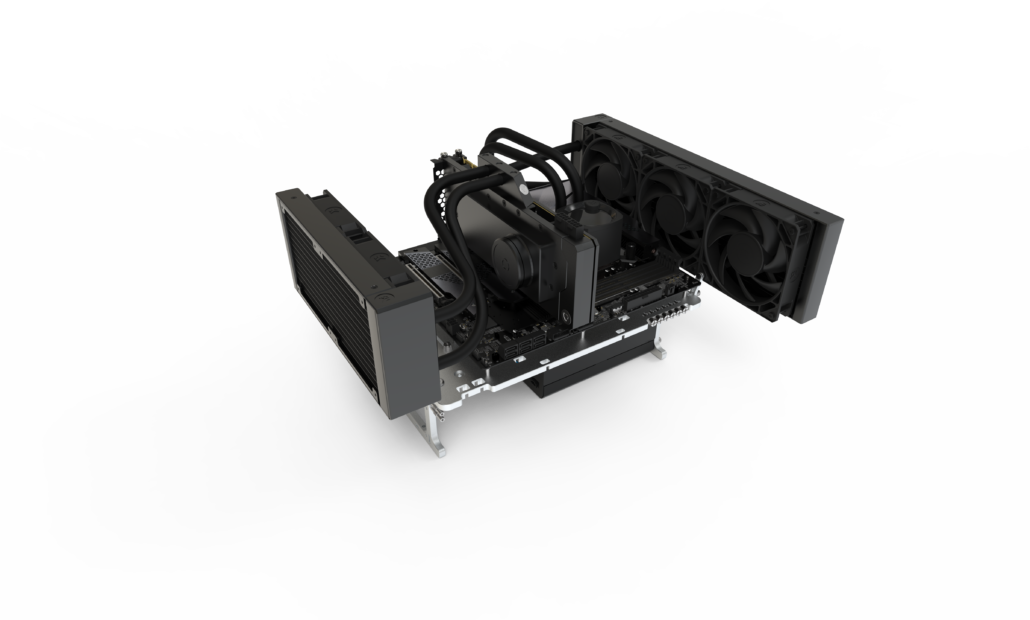
Assembling accessories & AiO cooling
The Open Benchtable V2 feature a new, redesigned double bracket. Alway hook the 2 brackets to the main body, you can then use both at once for heavier items or split them in two for lighter accessories like a fan, pump or our Open Benchtable Debug Card.
The differents locations for the brackets can accomodate mutliple configurations for small and large radiators.
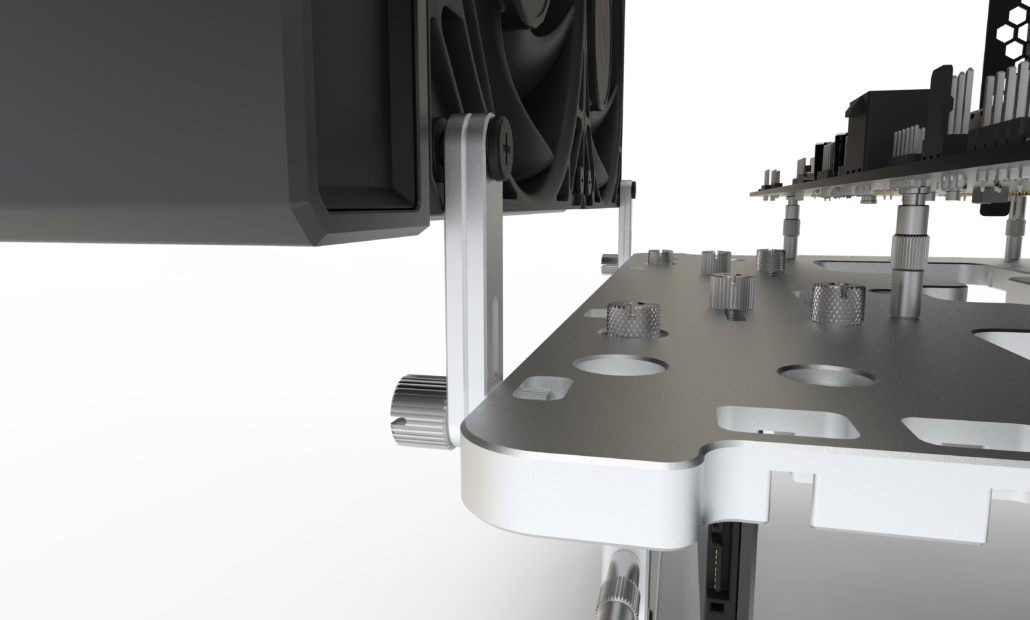
Tips from the team: We recommend attaching heavy element closer to the bracket
You can extend your OBT with some community projects and accessories like the Open Benchtable Debug Card or the NOCTUA VRM Cooling System.
Cable management
With any open-air system, cable management is an important part of the final look-and-feel.
Tips from the team: Use cable ties and make use of the space between the motherboard and the OBT to route/attach/guide your cables nicely.
Bonus : Demo-Mode
The Open Benchtable V2 feature a simpler way to build a vertical system. Let’s look at the key elements of this “Demo mode”.
Attach the OBT feet with the hole at the center of the main body, and either at the top or the bottom depending of the look your want to achieve.
Before anything else, attach your PSU to the feets, this is a requirement to use the demo-mode as it provide a counter-balance for your components later down the road. When building in “Demo-mode”, make sure the unit is stable, as using undersized PSU and oversized GPUs or coolers could unbalance the build.
Secret feature : Wall-Mount
Yes, you can! How?
In each feet there are 2 extras holes (see below), they can be used to screw the whole rig to a wall or… anything else.

This concludes our Open Benchtable V2 assembly guide. We would love to see what you build on your Open Benchtable.
