
Watercooling installation guide
The Open Benchtable is quite straightforward to build as we showed on our step by step assembly guide. But due to the multitude of configurations you can create, we share the teams tips for attaching your watercooling kit. This watercooling installation guide focus on the most popular configurations to build your WC kit on the OBT.
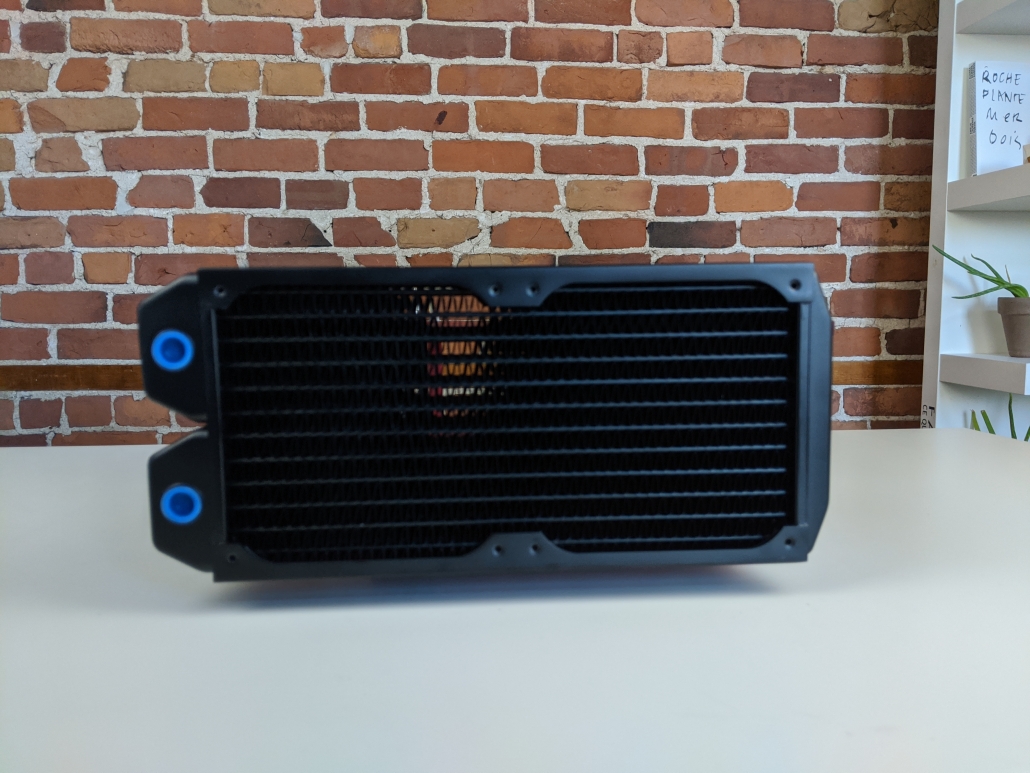
The Open Benchtable is designed to handle any sort of hardware, it allows the users to build computers with a wide variety of component choices. Watercooling kits are no exception. Indeed, the OBT can support large radiator sizes, from 120mm to the giant 420mm ones. The only limit is gravity (almost)!
On the edges of the OBT, holes allow to create pretty much any configuration you could think of! Let’s divide them in three categories:
- Radiator on top
- Radiator on the side
- Exotic mounting
Category 1 : Above the Open Benchtable frame
There are three recommended locations to install your watercooling’s radiator:
- At the top (PSU/handle area)
- On the right side
- At the bottom (storage area)
There is an extra location on the IO side, that we wouldn’t specifically recommend.
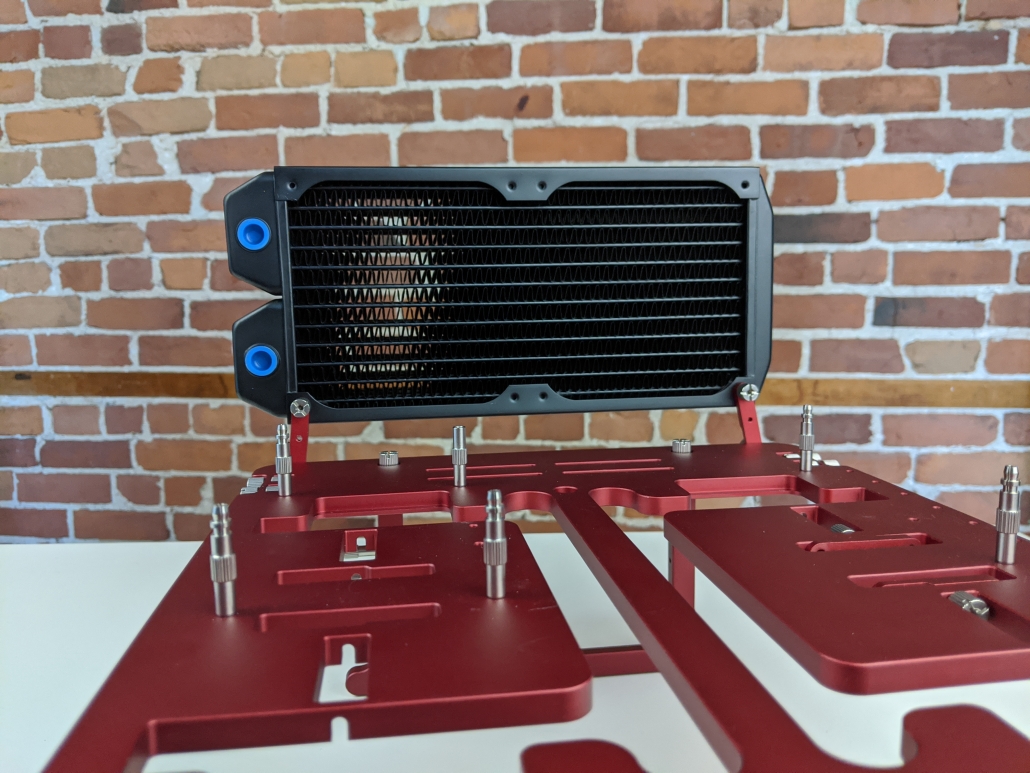
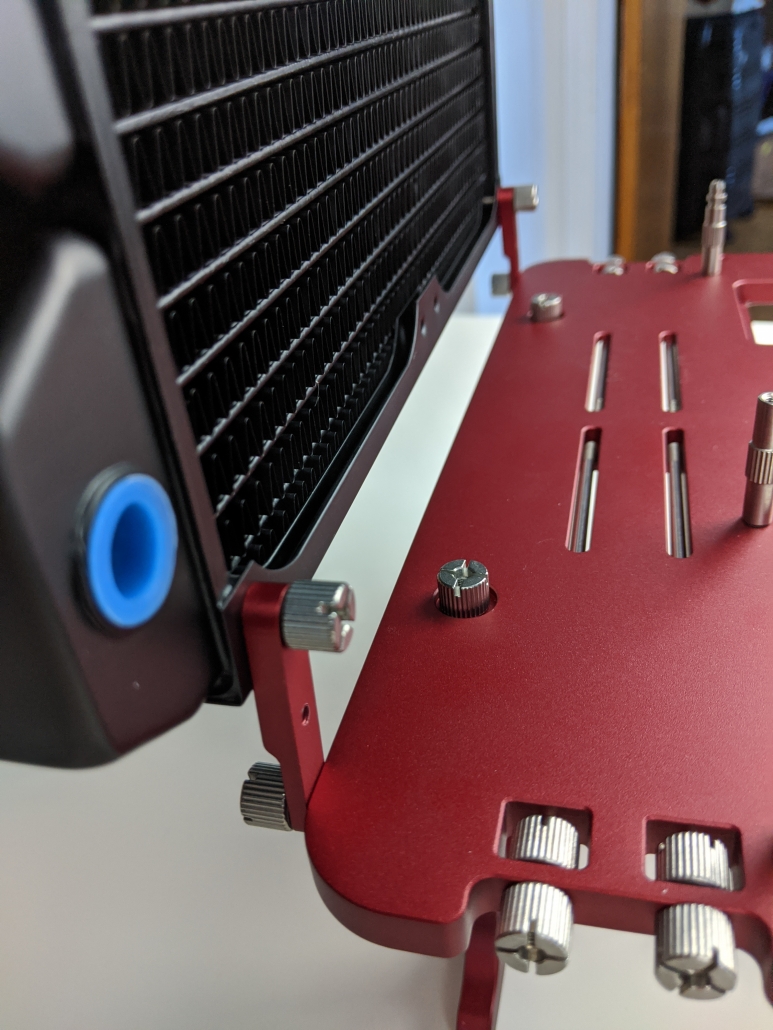
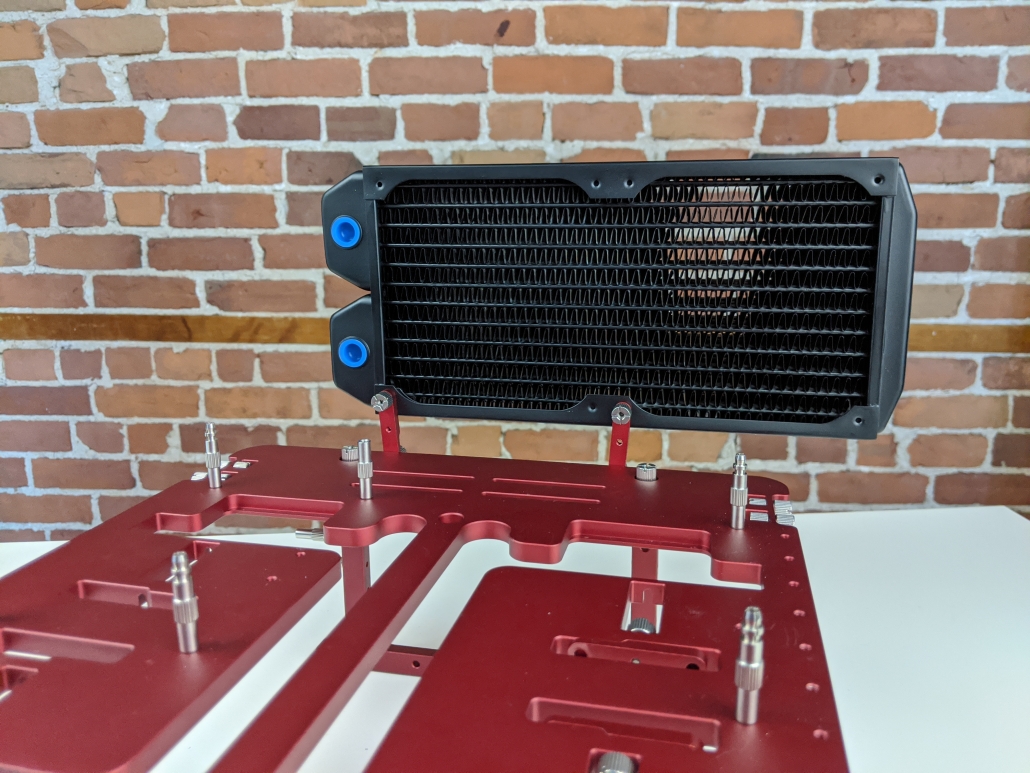
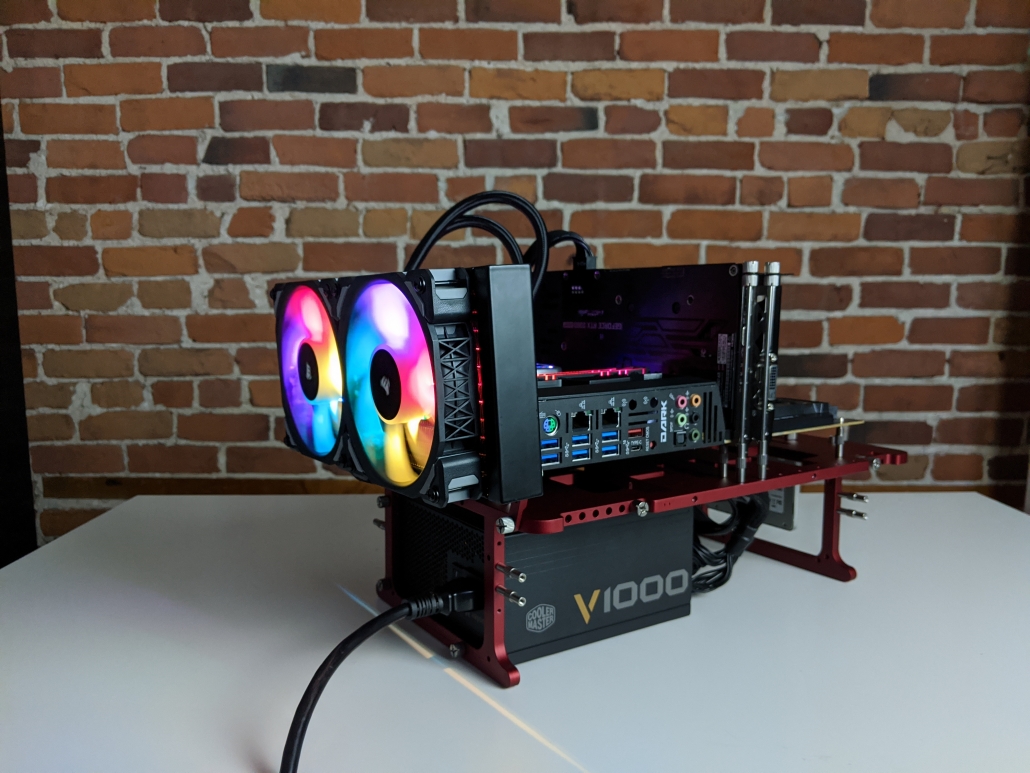
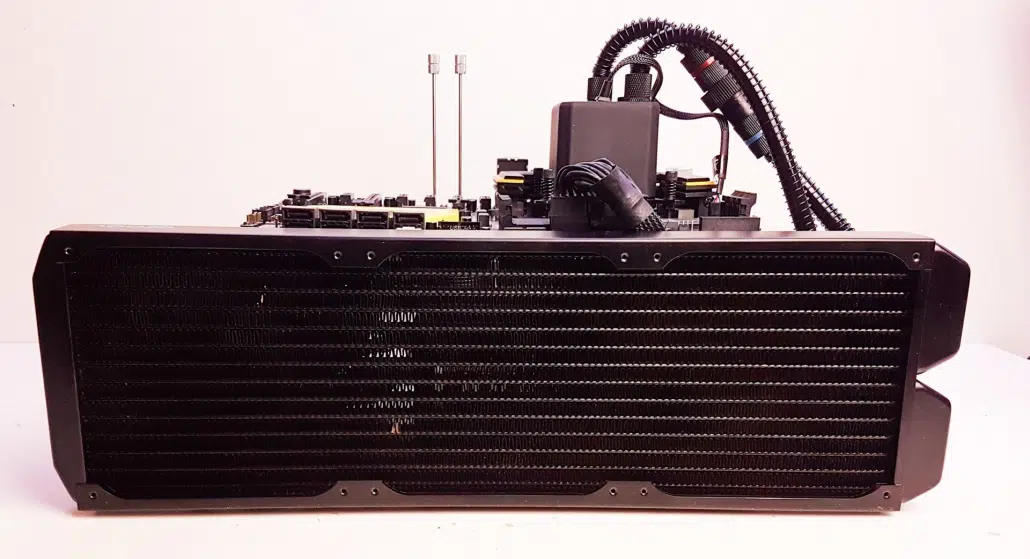
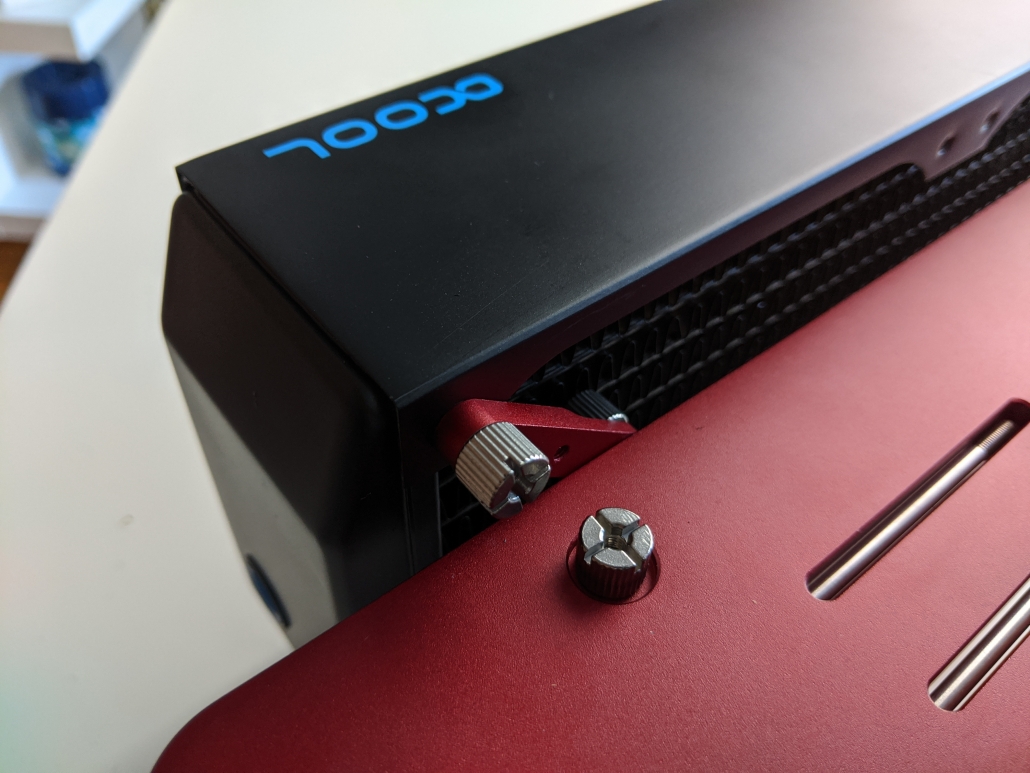
At the top (PSU/handle location)
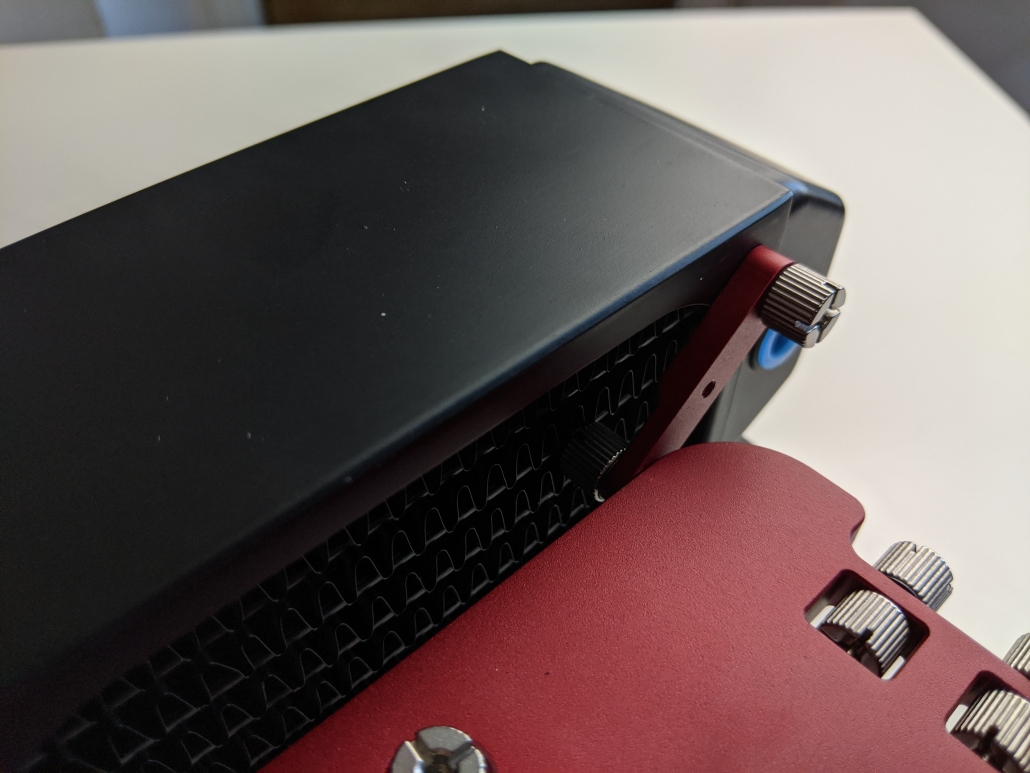
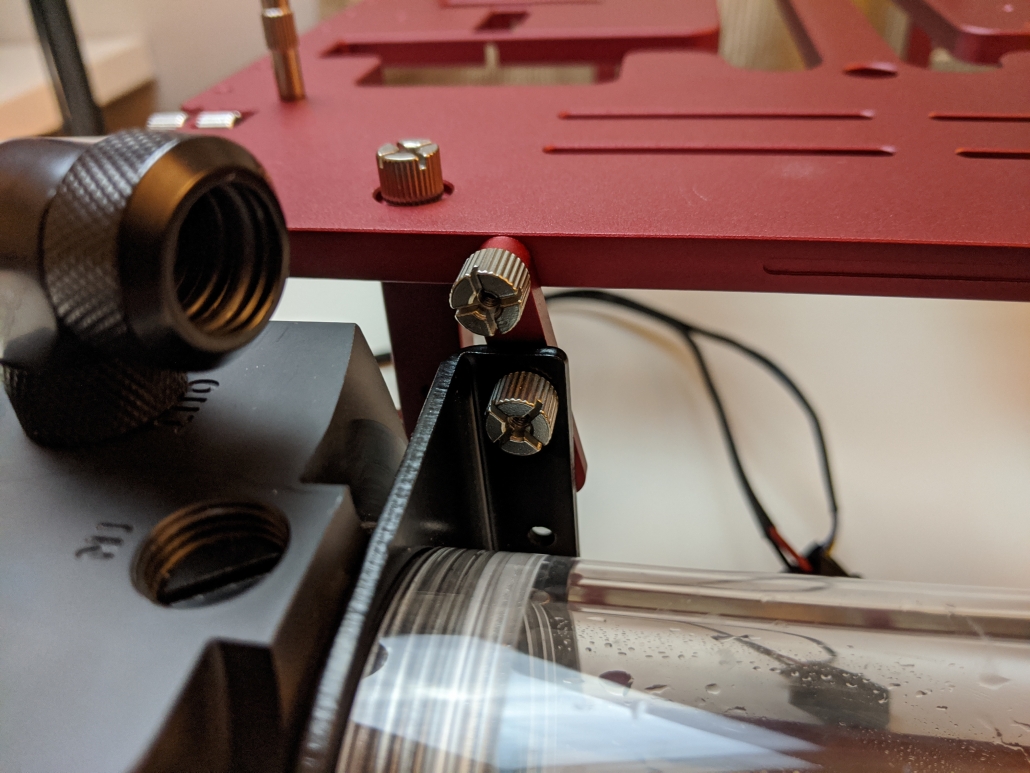
At the Open Benchtable’s edge located above the power supply unit, you will find holes. Attach two brackets using the M3 thumbscrews provided with your OBT. Adjust the brackets to fit your radiator mounting and use the screws provided with your radiator or the OBT screws.
Tips from the team: Use the widest mounting point on the Open Benchtable to support large radiators.

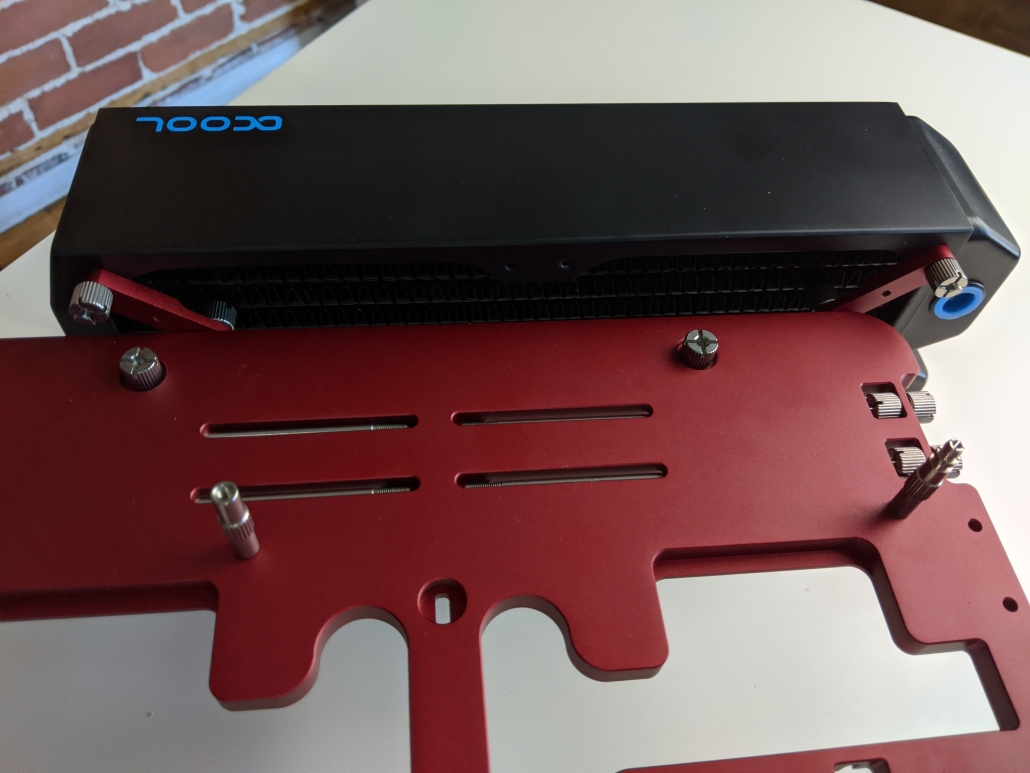
Recommended position for large radiators 
If you love to use the OBT screws everywhere, consider getting a Open Benchtable Screw Kit.
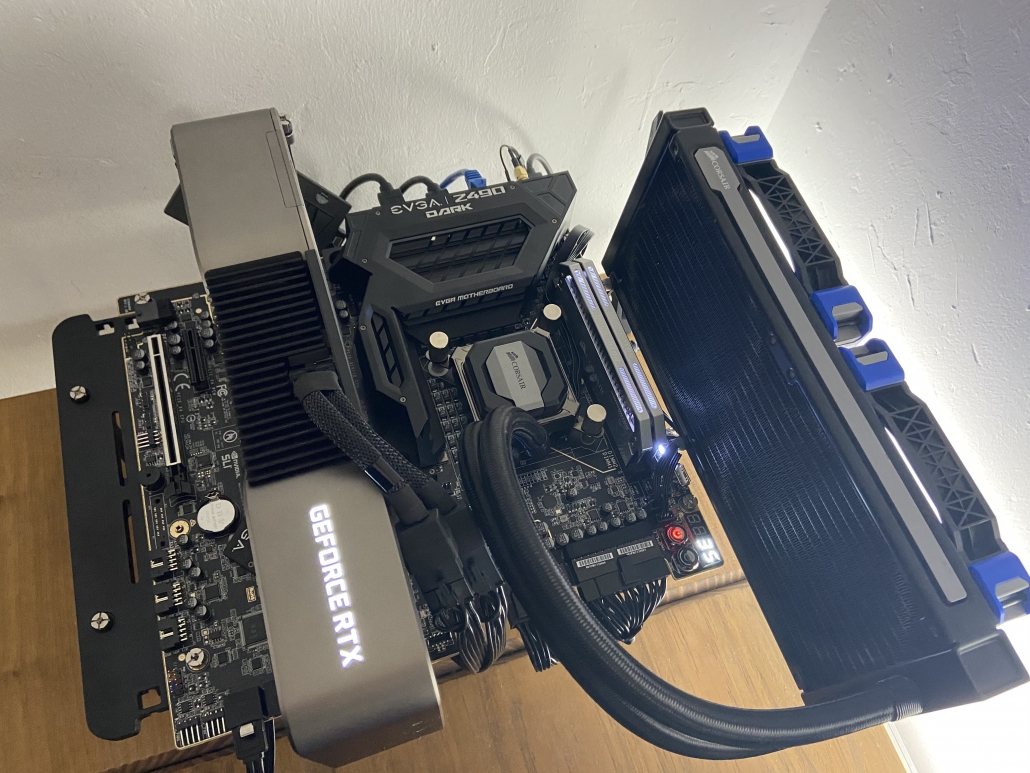
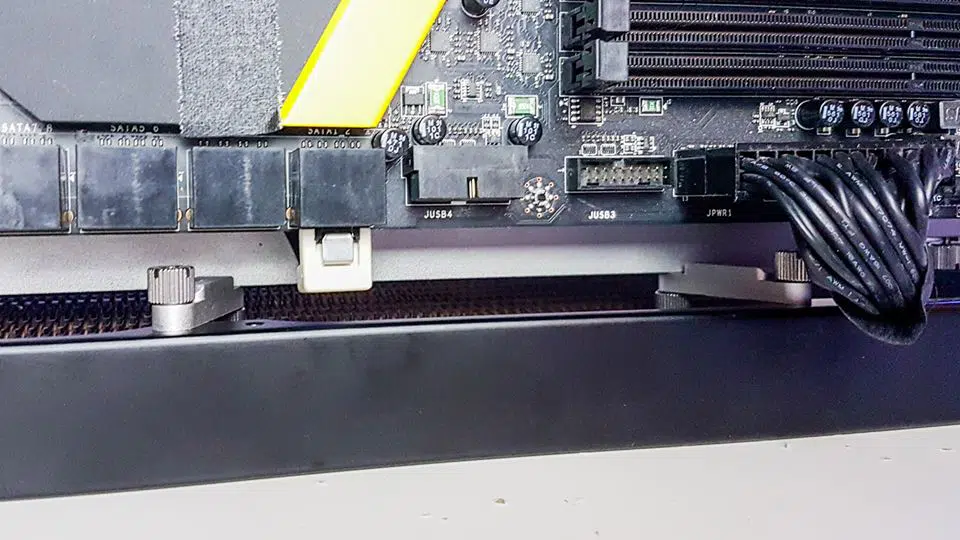
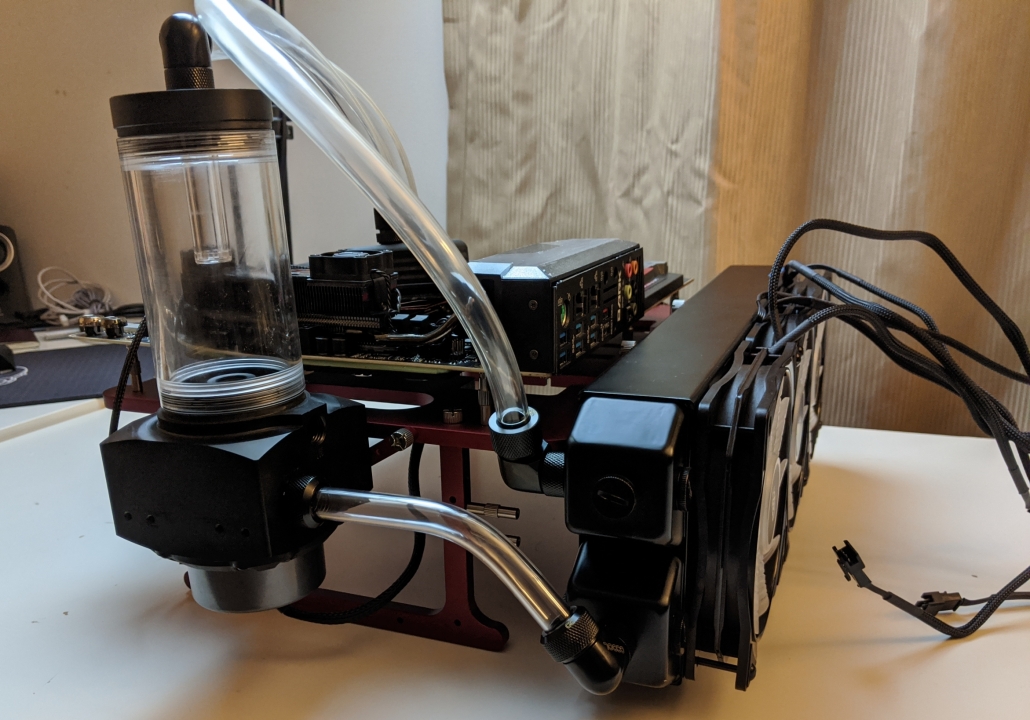
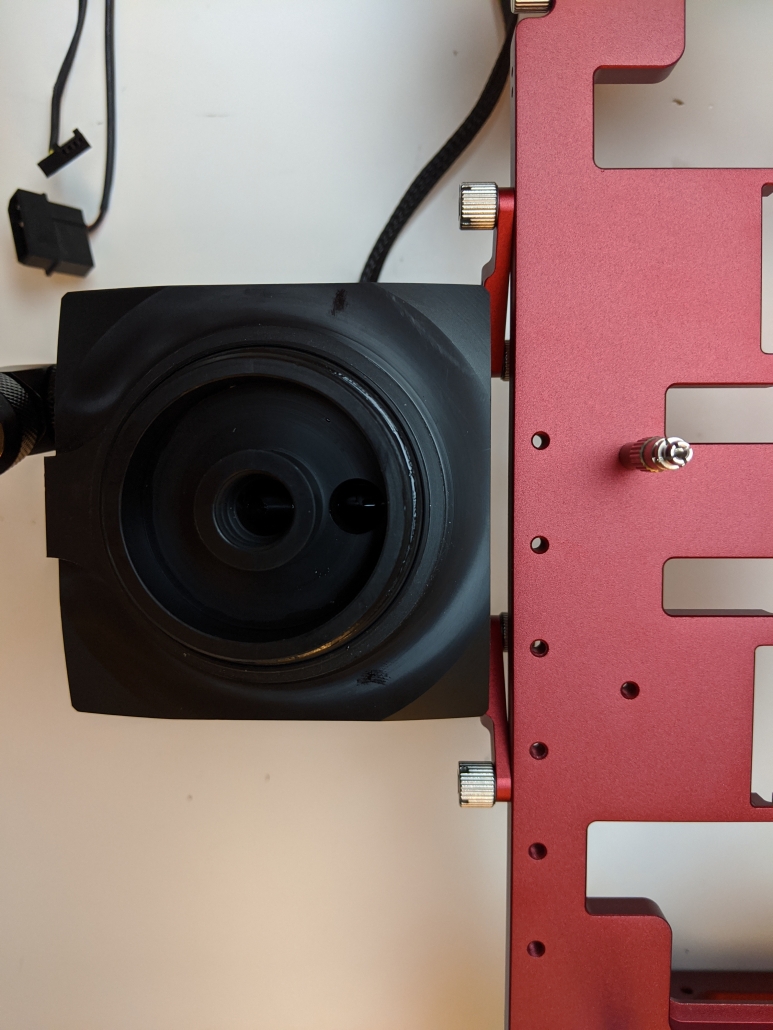
On the right side
Depending on your motherboard format and GPU size, consider mounting the radiators on the right of the OBT. Adjust the brackets to fit your radiator and you’re good to go!
Tips from the team : This usually works with ATX or smaller motherboards. Consider that any GPU larger than your motherboard frame can conflict with large radiators.
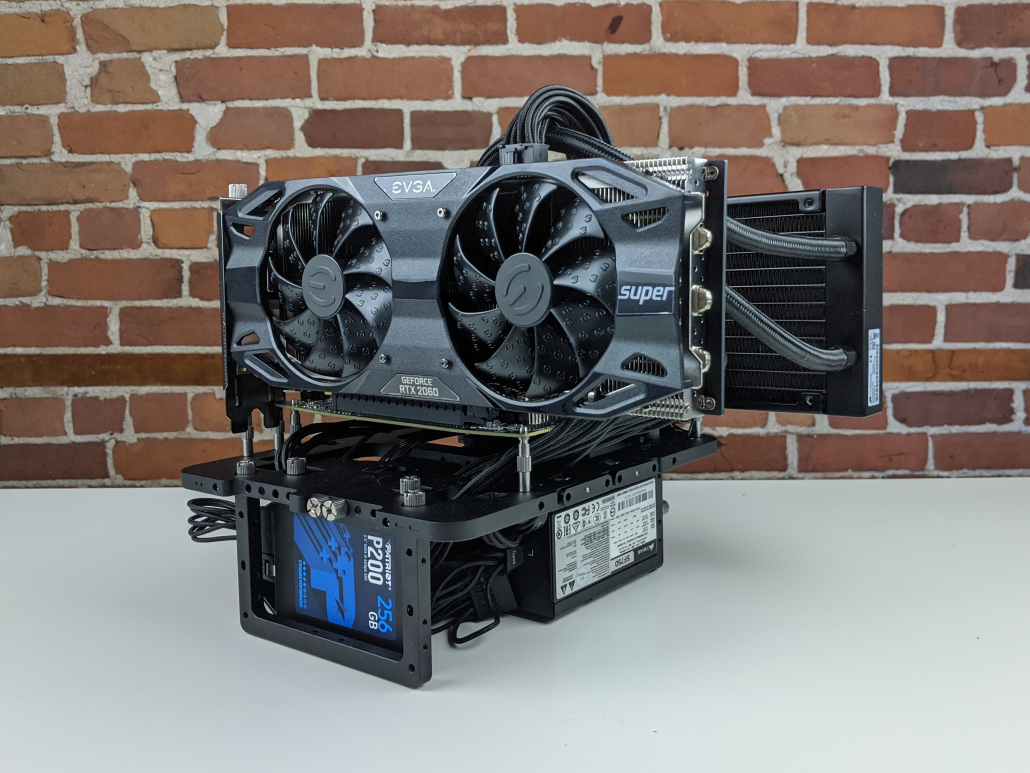
Facing the GPU / storage side
This one makes a lot of sense if your GPU is watercooled. Just above the storage space, there are 4 holes to attach the brackets. Like the PSU/handle side seen earlier, find the holes that fit the best your watercooling system!

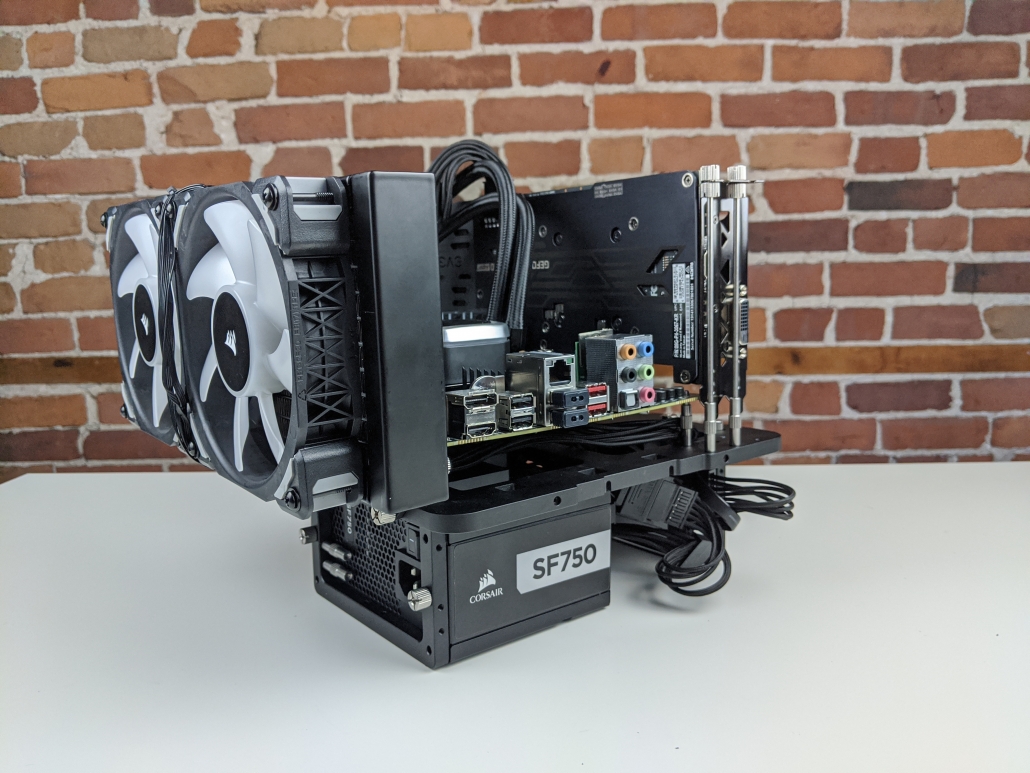
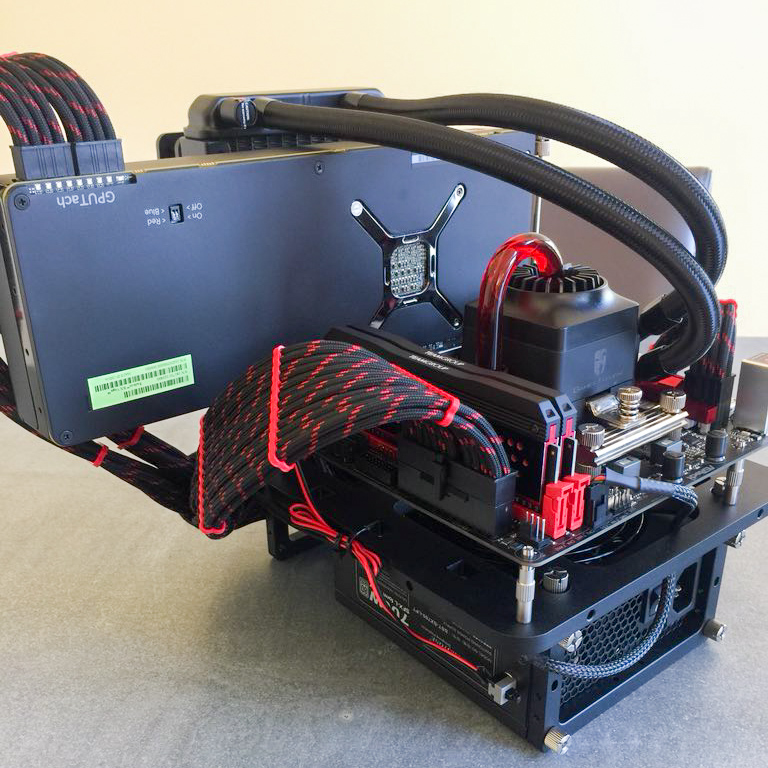
Double All-in-One cooling in a breeze.
On the left side (behind the IO shield)
This setup is not recommended, as it easily blocks the motherboard IO and the GPU connectivity. This option is available on OBT v1 and v1.1.
There are two holes on the OBT edge behind the IO shield to attach your components. However, this mounting space is used mostly in Extreme Overclocking Setup when the GPU is on a different PCI-E slot and for industrial motherboards/testing systems.
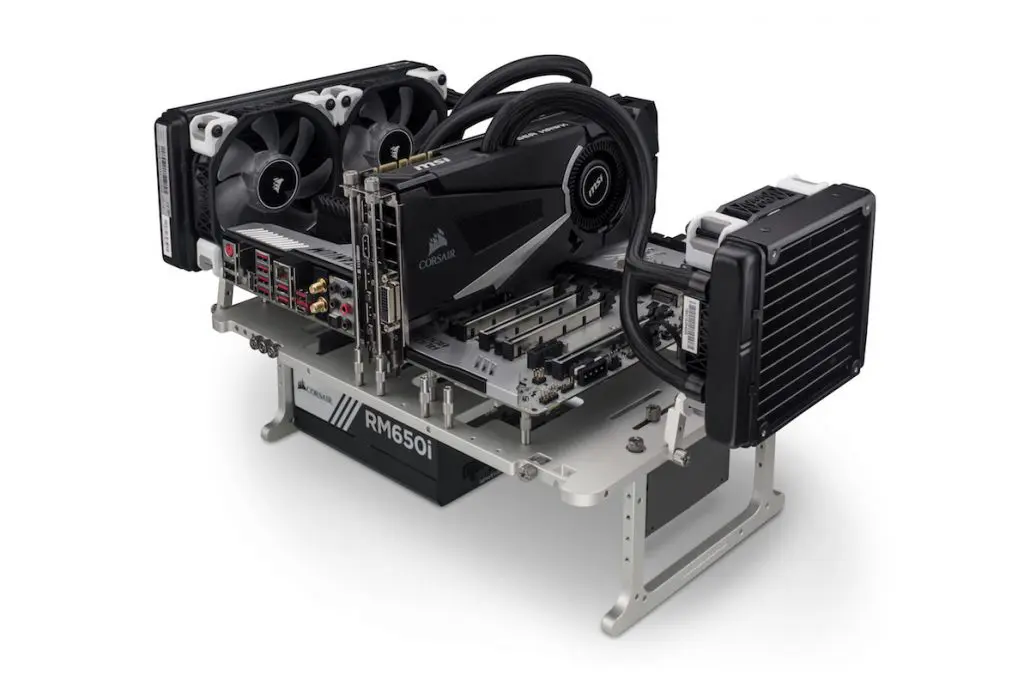
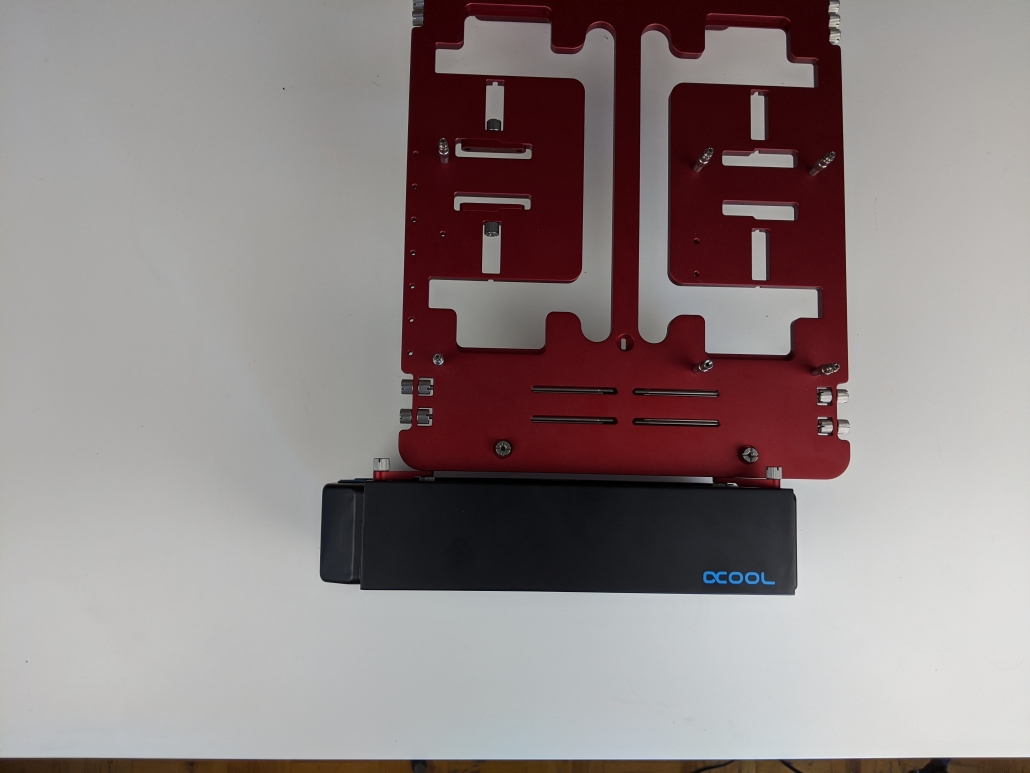
Category 2 : Below the Open Benchtable frame
There are four different locations where you can install your radiator when you choose it to be under the OBT frame. There are two recommended layouts and two other locations possible.
Setting the radiator below means that your radiator is below your pump, in some configurations this can lead to bubbles in your loop.
At the top (PSU/handle location)
We wouldn’t really recommend this setup because it can easily obstruct the PSU’s plug. This is a good location for a tiny radiators, pump or VRM Cooling bracket.
Use the brackets to secure the radiator to the frame. Holes are located on the edge just above the PSU.

On the right side
This position is useful for long radiators, be creative with the brackets and positions.
With a combination of “Bigger-than-ATX” motherboards and large radiators this might not be possible. Nonetheless, this is a great location for long radiators, distro-plates or reservoirs.
At the bottom, facing the storage
In the same fashion as PSU/handle position, you can set your radiator facing the storage. The good part here is that there won’t be any conflicts with airflow nor plugs.
Adjust the bracket spacing based on your needs and component size.
On the left side, (under the IO shield)
You can attach the radiator on the IO side of your rig. This setup works best with thin radiators that use 120mm fans or smaller. This position is not recommended as some radiator size will conflict with the IO of your motherboard or GPU.
This can be used for your radiator or your pump depending on your creativity.
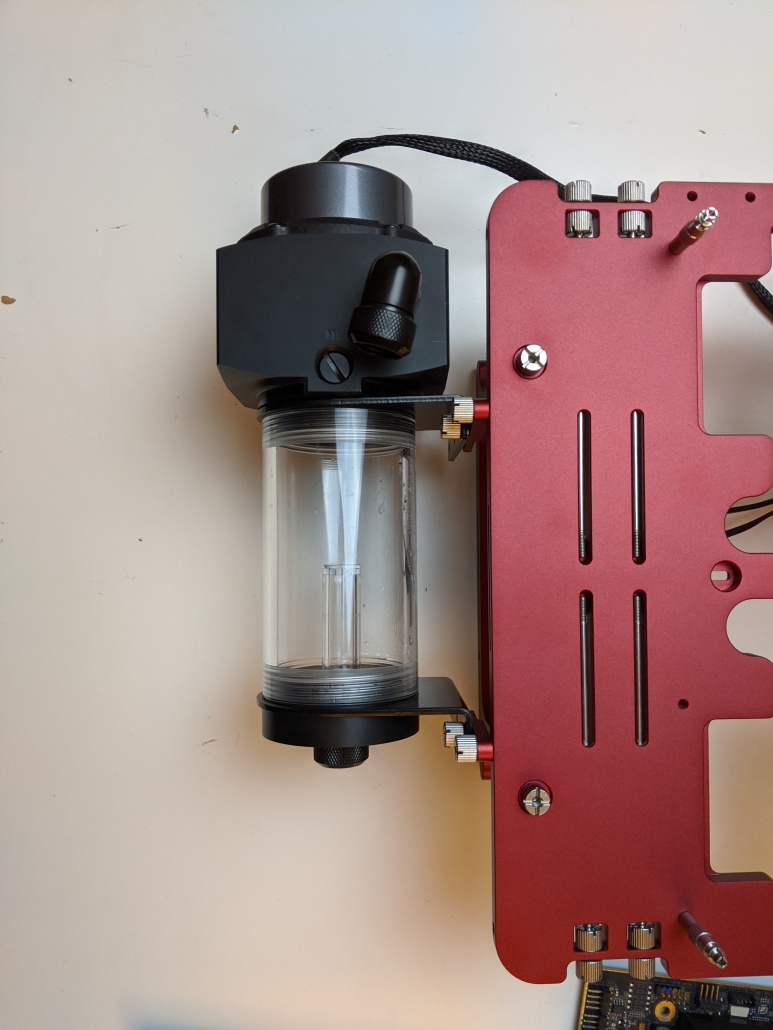
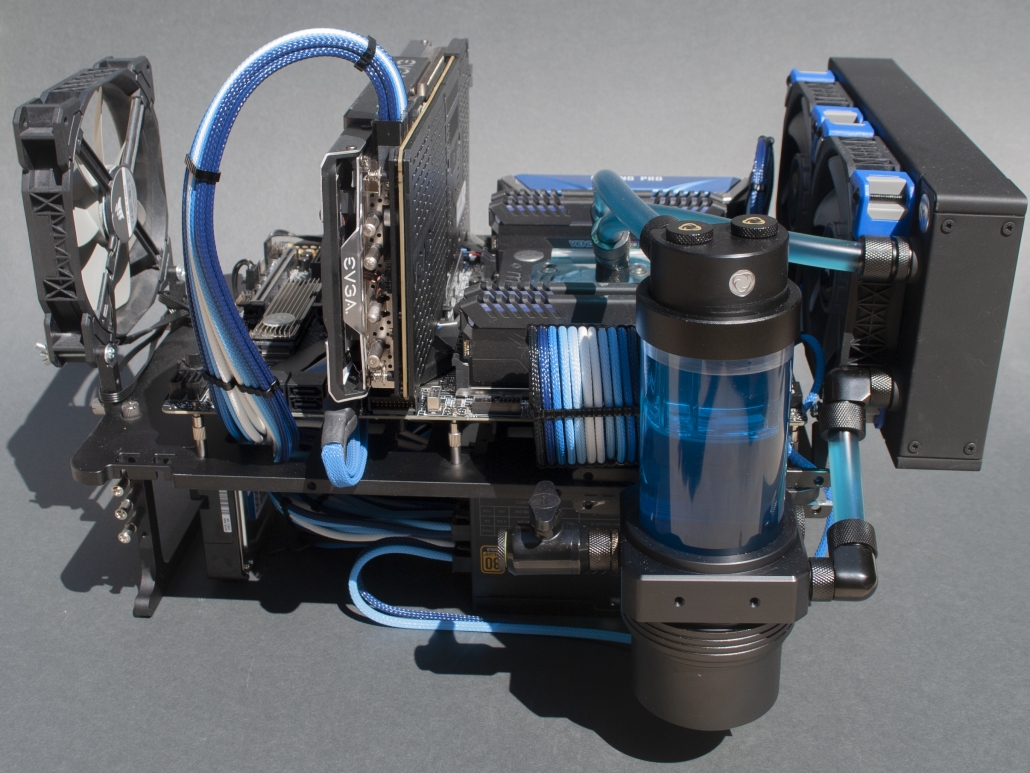
Mounting pumps or reservoirs
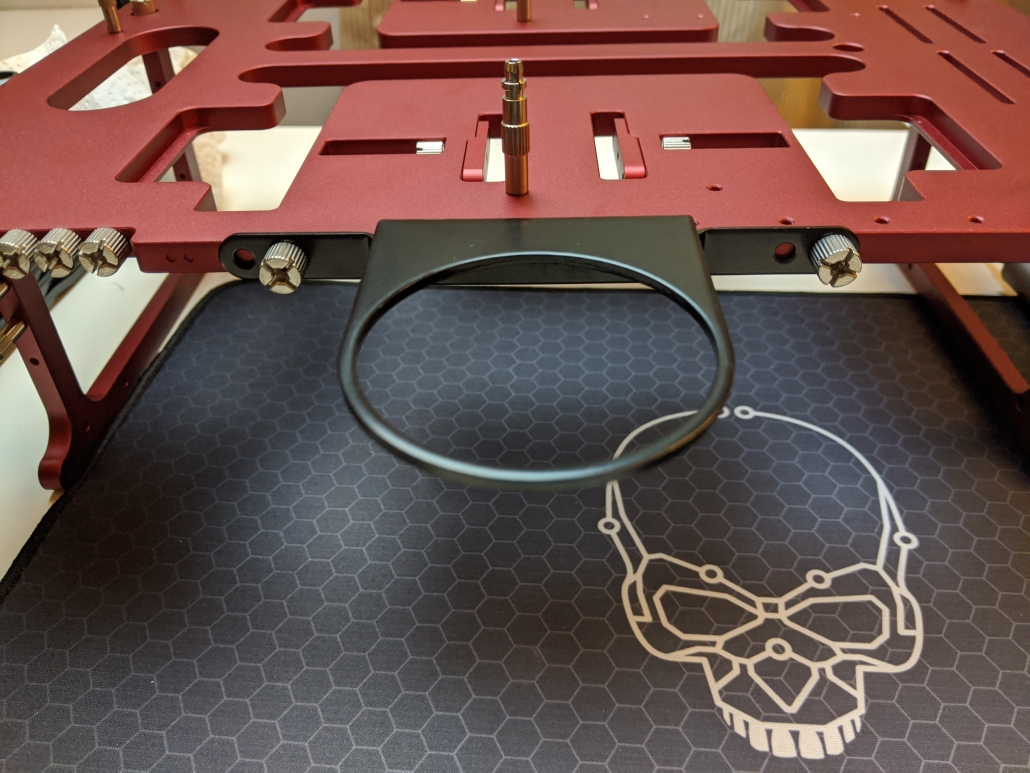
All the locations can accommodate watercooling pump, reservoirs or extra add-ons like the OBT Debug Card. Depending on your pump, the brackets are helpful to accommodate a large choice of models.

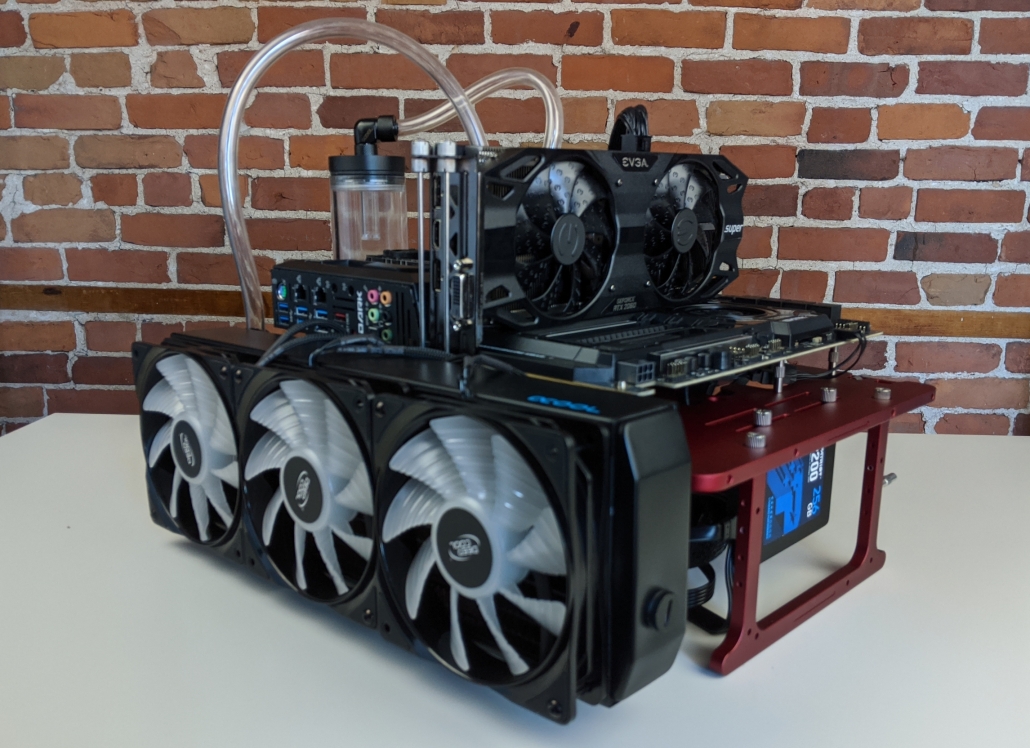
Build & Share
We love to see the OBT Community members building on the Open Benchtable.
Here are some of the builds to inspire you.
Reach out to Open Benchtable on you favorite social media : IG @openbenchtable, Twitter @openbenchtable, FB /openbenchtable.


