Step-By-Step assembly guide – OBT Mini
The Open Benchtable Mini is so simple to assemble that we never really bothered making a step-by-step assembly guide besides the one available in the box.
So, here we are with our detailed, step-by-step assembly and use guide for the Open Benchtable Mini. For the regular size OBT, check out our step-by-step guide for the Open Benchtable.
This guide focuses on the Open Benchtable Mini. The use of mini-ITX motherboards is recommended but there is not “hard limit” and mini-DTX motherboards would fit as well. There is no hard-limit on the CPU cooler or GPU sizes neither.
First, remove the OBT from its packaging. If you choose not to keep it, please consider reusing it for something else or recycle it!
Assembling the feet
To release the feet, start by unscrewing the four screws holding the feet to the structure. Then loosen the PCI-E thumbscrews. The two feet and the PCI-E standoffs should now be released from the main body.
The PCI-E standoffs slide in slightly in the main body to stay secured when packed.
To secure the feet to the main body, use the same screws directly in the two holes on each side of the benchtable as highlighted.
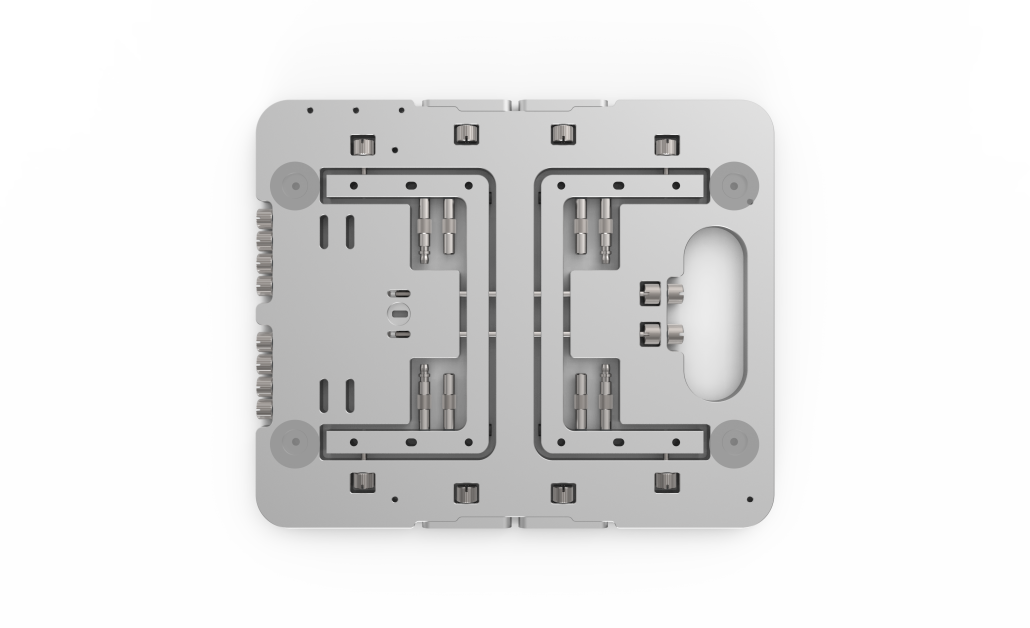
Attach the feet in the higlighted holes.
Attaching the PSU
The OBT Mini is compatible with the SFX and SFX-L PSU form-factor.
Note that the screws used for holding the PSU are 6#32 when everything else on the OBT uses M3.
All of the screws are located at the bottom of the OBT Mini. The 6#32 screws can be found on the left side, while spare M3 screws are on the right side.
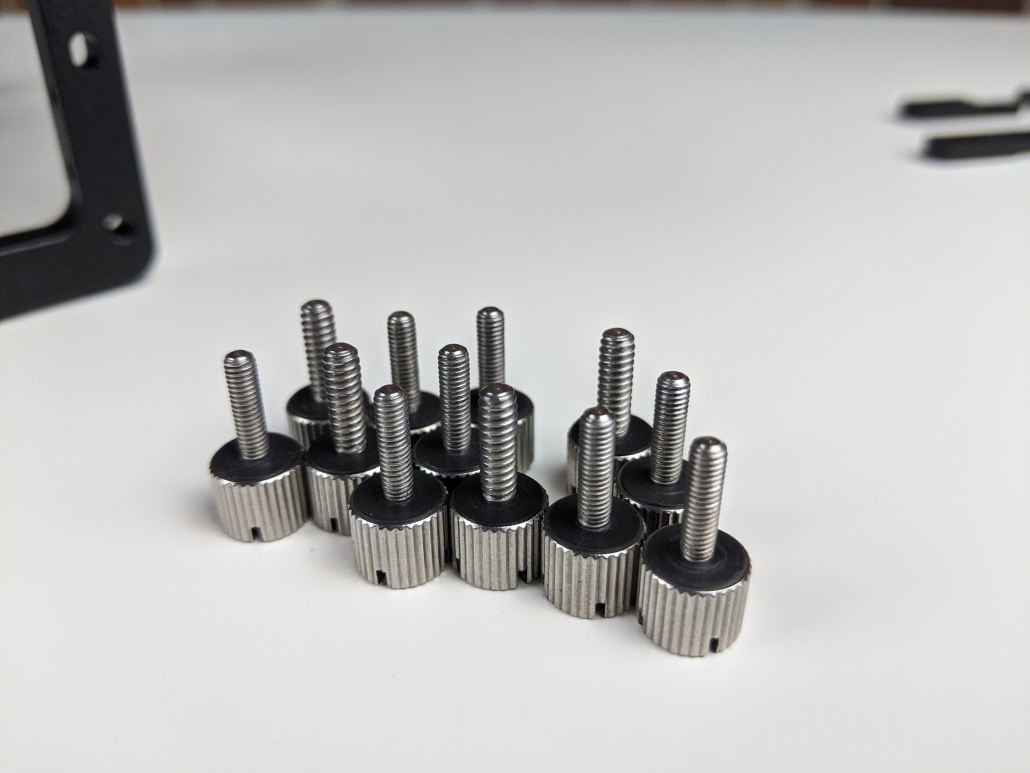
6#32 screws can be easily recognized because they feature a wider threading
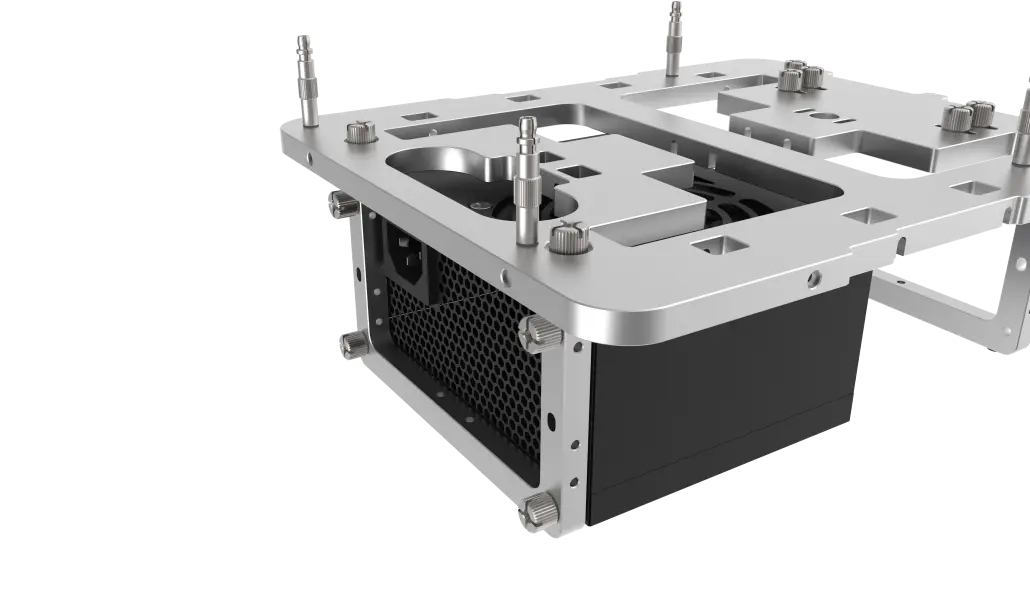
Attach the PSU to the feet located under the handle. The PSU can be attached with the fan facing up or down, but it is recommended to use your PSU with the fan facing up.

Once assembled, you OBT Mini is rock stable
Attaching the CPU/Cooler/RAM
At this stage, you should mount the CPU, the cooler and the ram to your motherboard.
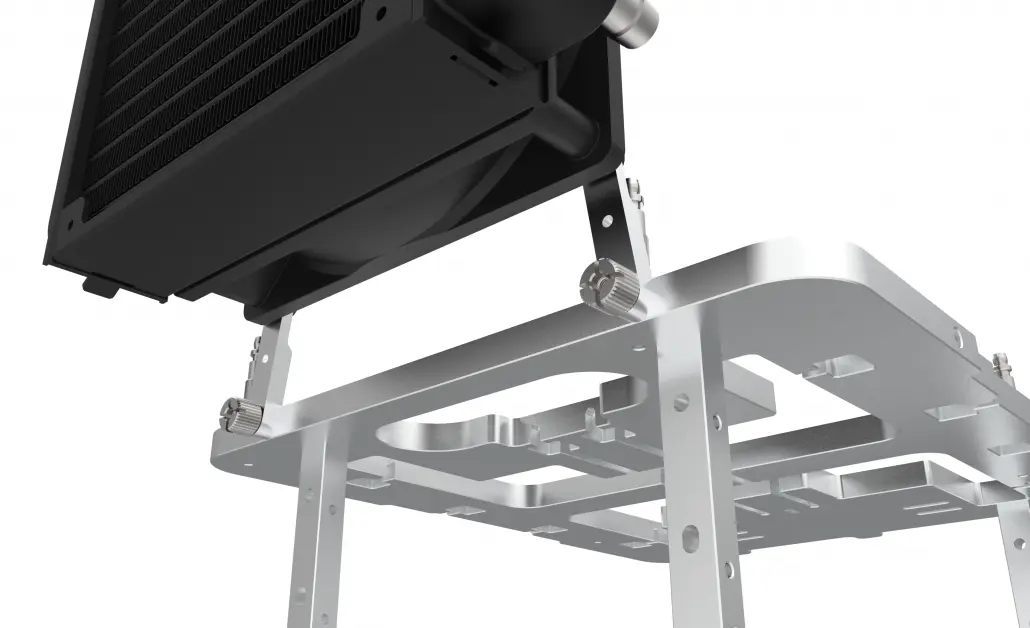
Tips from the team: In case you use watercooling radiators or large All-In-One Watercooling kits in a non-conventional approach (see the last step): This is a good time to hook them up to the table for good. We have a blog post with detailed instructions on how to proceed.
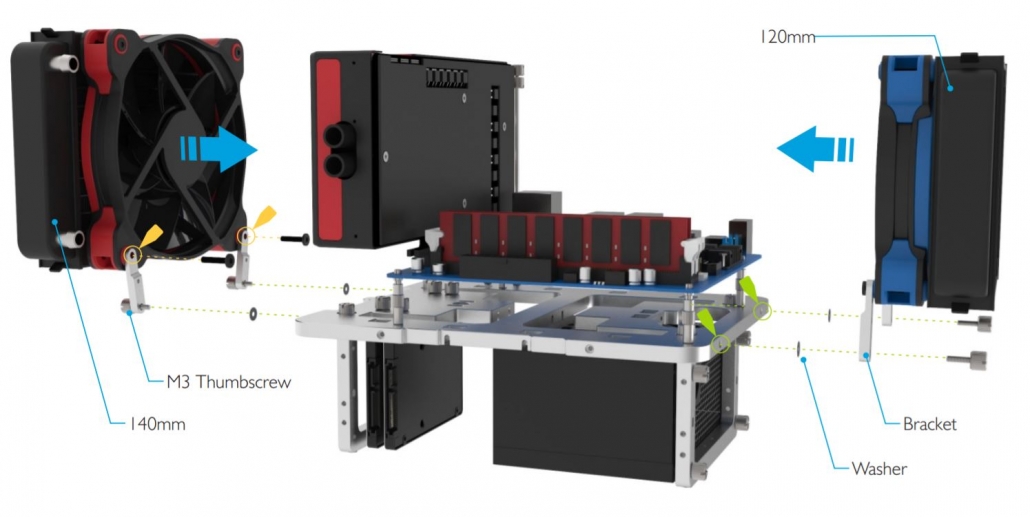
Tips from the team: Brackets can be used in multiple scenarios depending on how you orient them. This helps fit radiators mounting using the 120mm to 140mm (fan-size).
Securing the motherboard
Now, let’s get our motherboard on the OBT Mini!
You need the standoffs located on the feet. If you take a look at them, you will notice that they are of two different types.
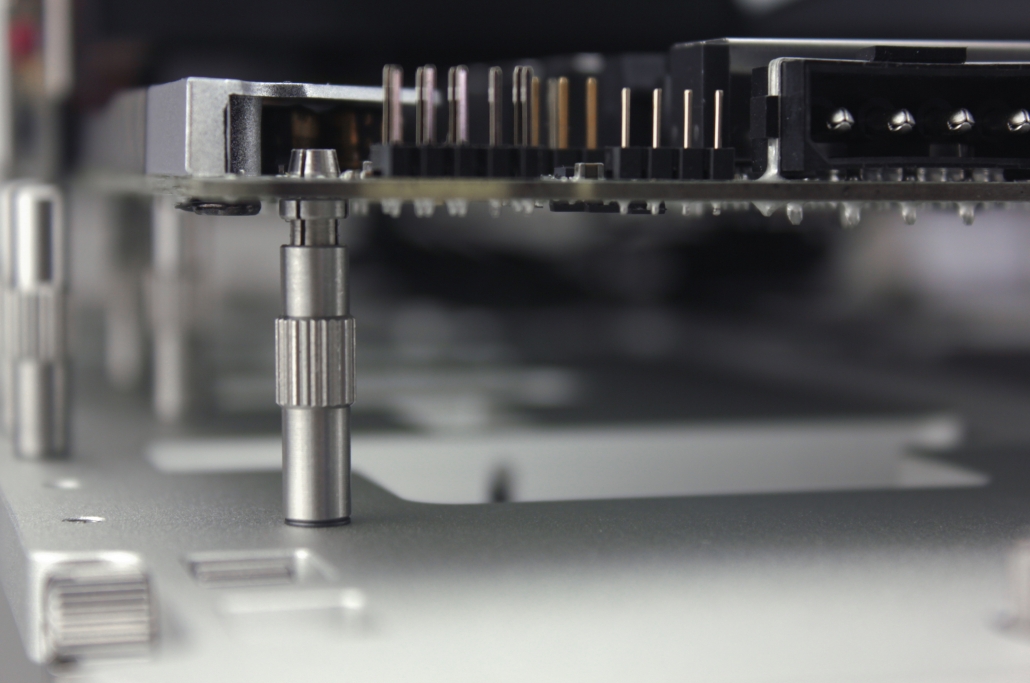
Four of them are the usual screw standoffs that help you secure the motherboard in place. The other four are our fast mounting push-pin standoffs. You can use whichever type suits your needs best.
If you’re still not convinced on how to proceed, we got you covered on our blog!
Tips from the team: we usually go for two conventional standoffs in diagonal and two push-pin standoffs on the other diagonal.

Once installed, push-pins standoffs hold your motherboard in place
Securing the GPU
For each PCI-E holder that was securing the feet at our first step, you will need a screw-type standoff (from the step above).
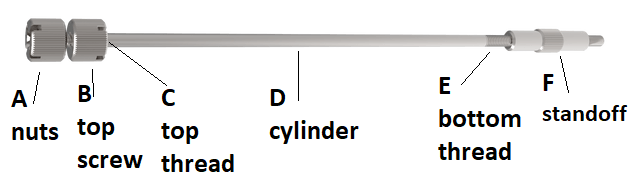
Attach the PCI-E thumbscrews into the standoff, screw into the main body and remove the nuts from the top screw.
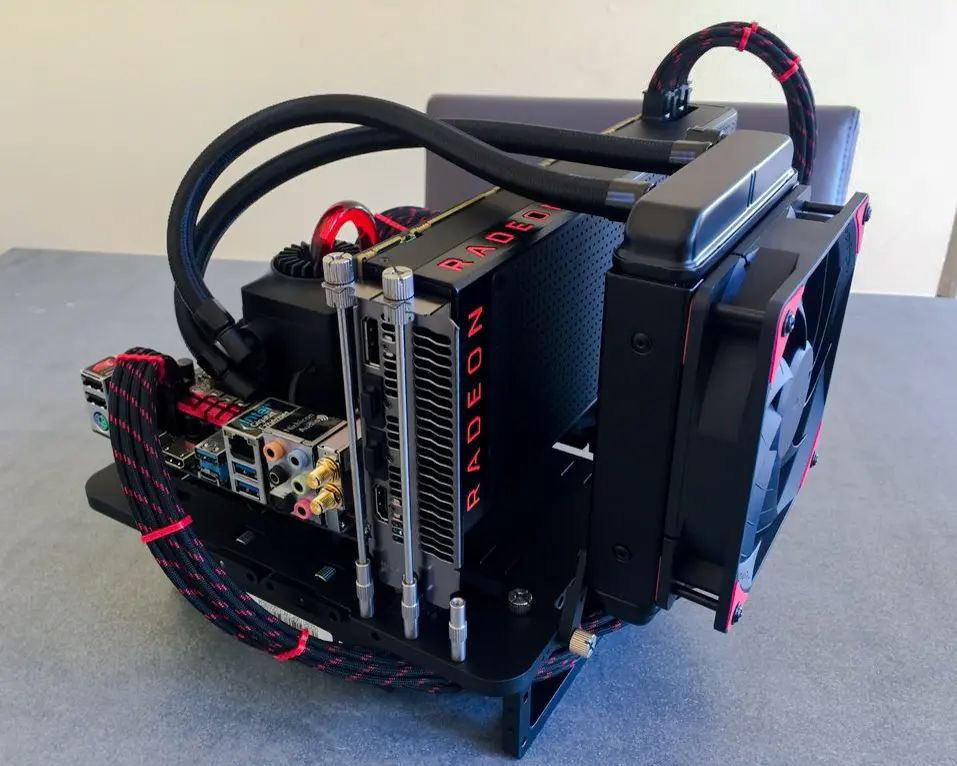
Insert your GPU into the PCI-E slot, the thumbscrews should line up with the GPU mounting. Once done, tighten the nuts onto the top of the PCI-E standoffs.
Tips from the team: For single slot graphic cards, you can use one PCI-E standoff, and keep the second one stored.

To unlock the PCI-E support, loosen the nut from the top screw, it will unlock it from the main body of the Open Benchtable. 
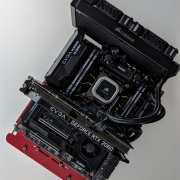
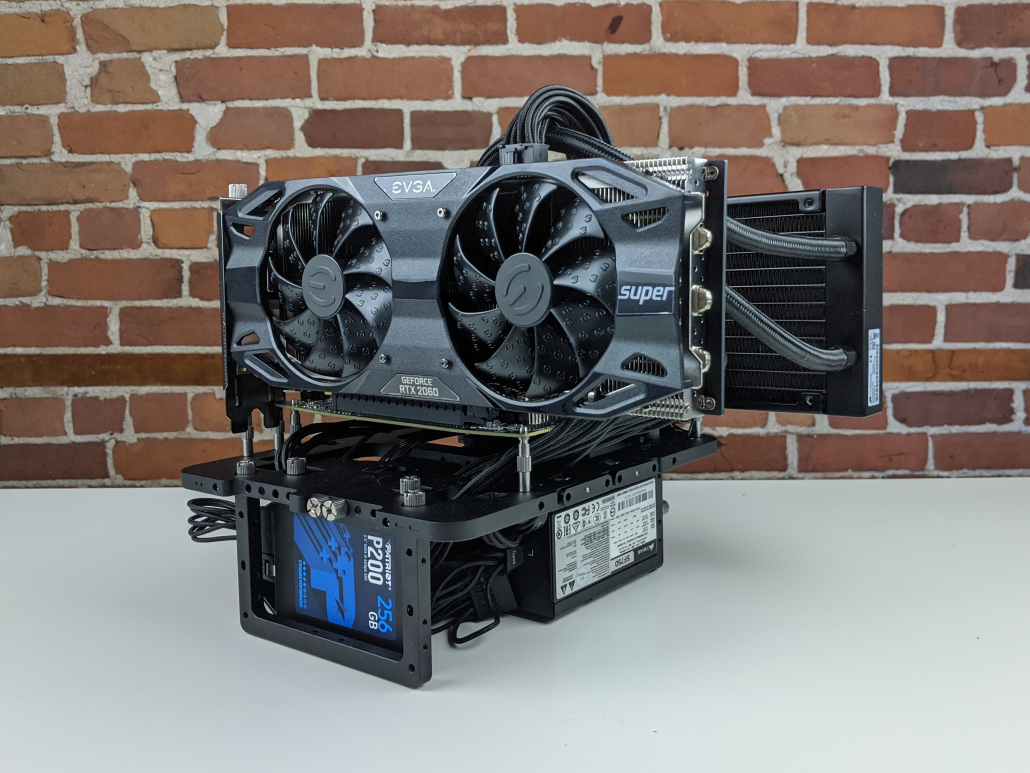
The OBT Mini support GPUs with large coolers
Our dedicated post will guide you through an even more detailed way to secure your GPU!
Attach storage
You can easily attach up to two storage devices at the bottom part of the OBT. The Open Benchtable supports 2.5″ SSD or HDD on both 7mm and 9.5mm z-height (thickness).
Use the thumbscrews provided with the Open Benchtable to secure them in place.
We recently published an article taht features a video on how to mount the drives!
Assembling accessories
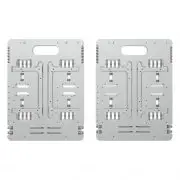
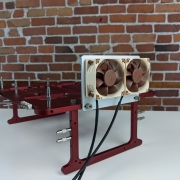
If you need to add extra coolers or accessories to your set-up, use the included brackets. These are located at the center of the benchtable. Screw them at the top of your OBT and then mount your accessory or cooler onto it. The brackets can also be used to accommodate all-in-one and custom watercooling. More advanced information is available on our How-To section
If you are interested in mounting Noctua’s VRM Cooling System, we got you covered on our blog.
Cable management
The end is near! Lay the cables on your OBT and everything should be working!
Tips from the team: Use cable ties and make use of the space between the motherboard and the OBT to route/attach/guide your cables nicely.
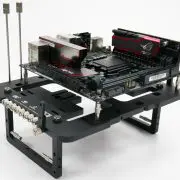
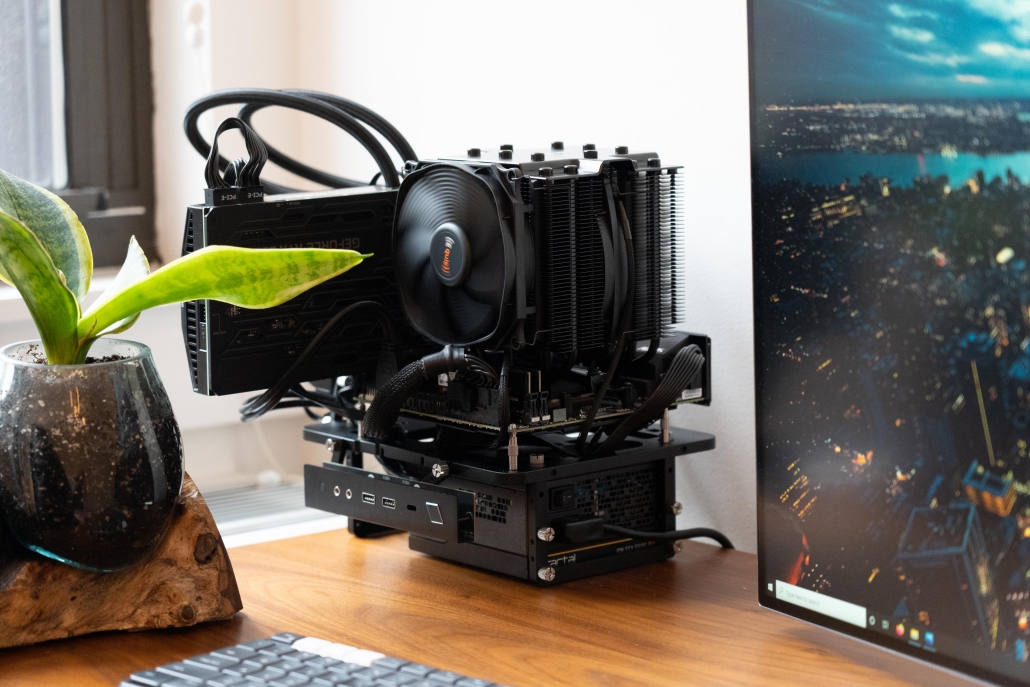
Inspire yourself with some builds from the community.
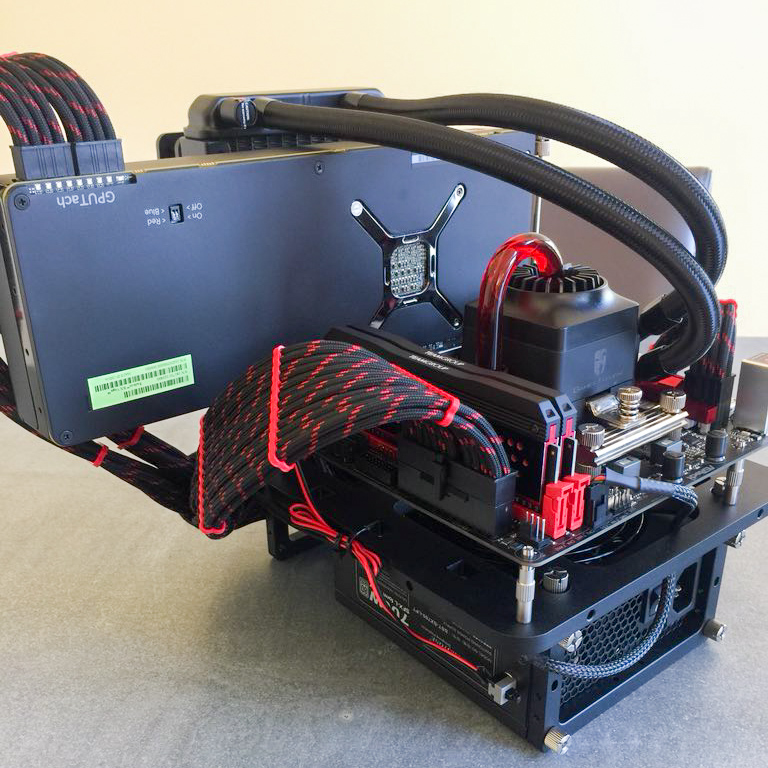
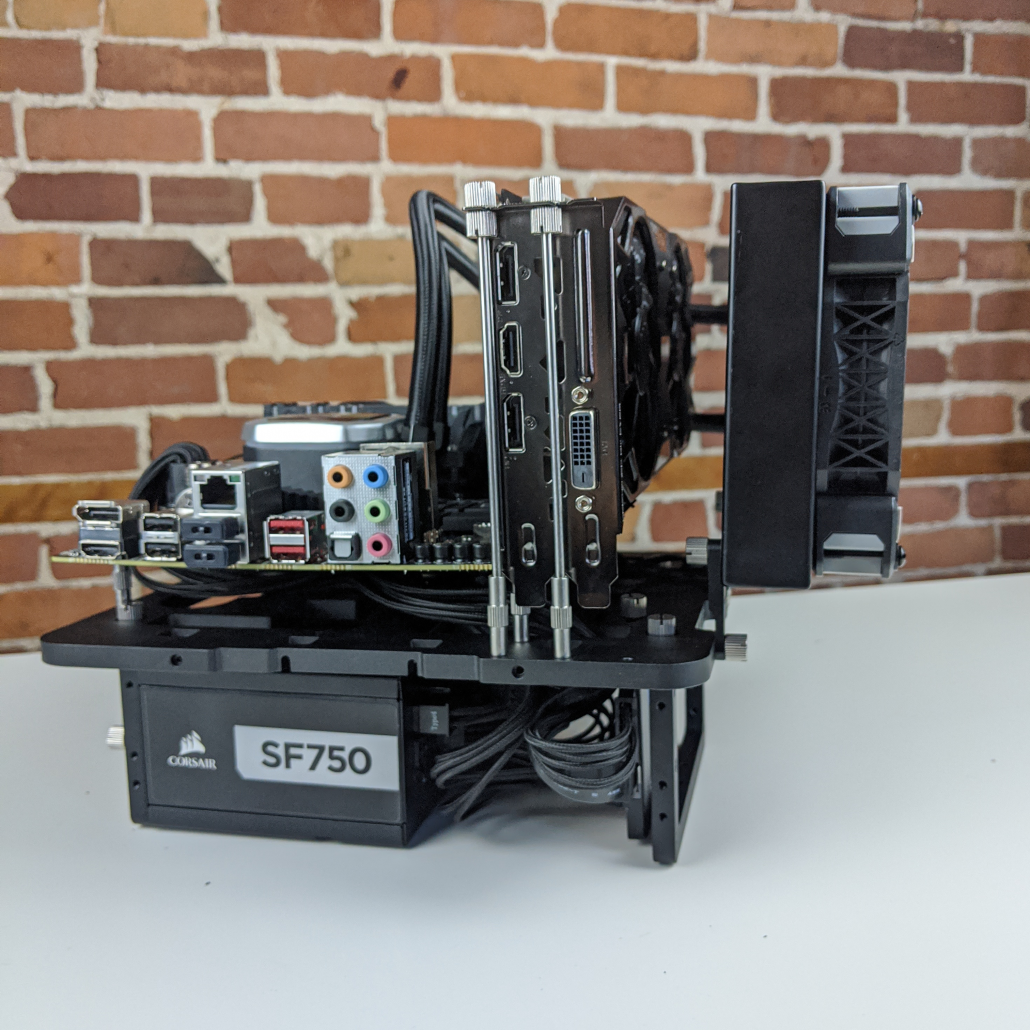
This concludes our Open Benchtable assembly guide.
Feel free to share your builds!