Noctua VRM Cooling System mounting guide
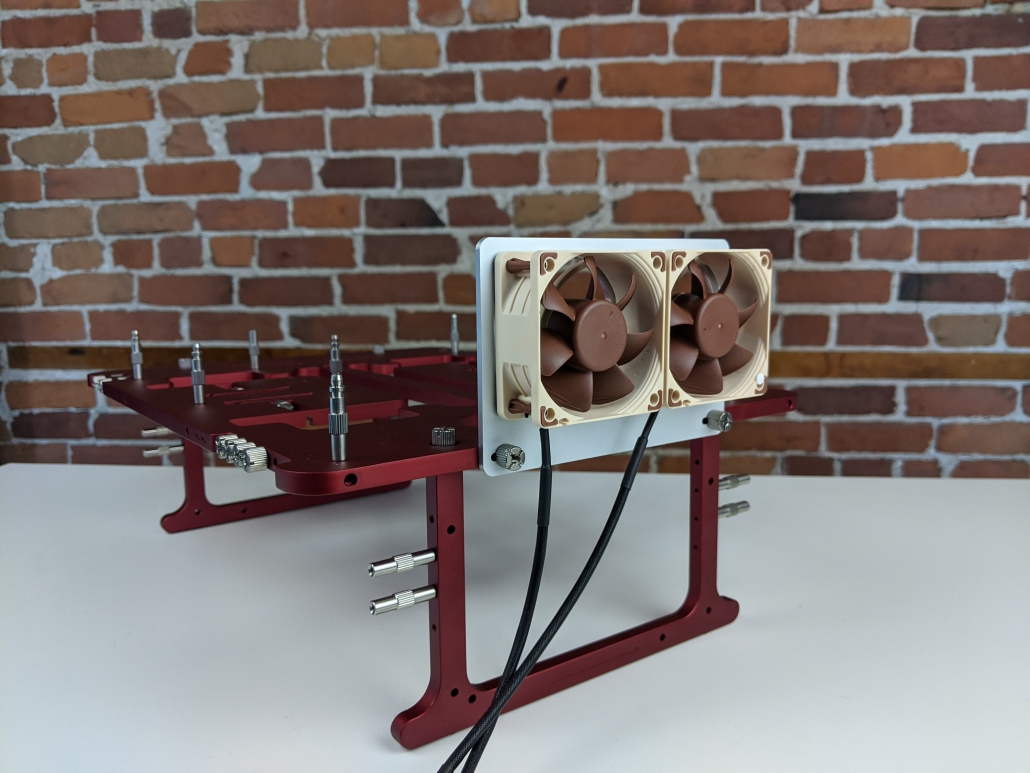
The OBT community created a lot of different adds on to the benchtable. Most of the community projects are created by enthusiasts on their own but NOCTUA decided to pitch in as well. This post will guide you to install this exclusive VRM cooling bracket!
The installation of the VRM cooling bracket is ultra simple and barely require a guide.
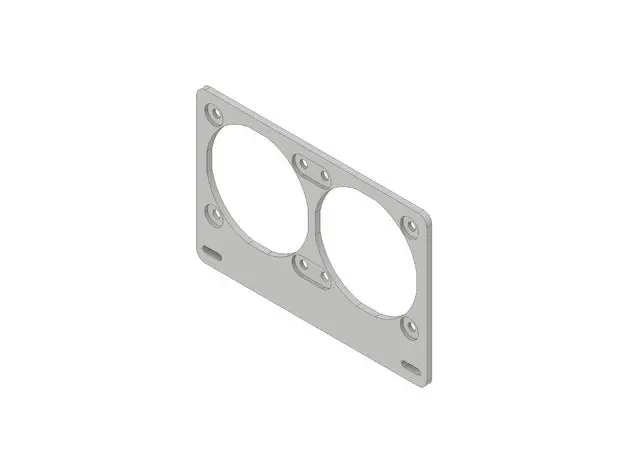
Make one or get your VRM cooling bracket
First, you have to have the bracket (3D print it or purchase it) and the Noctua fans. As we discussed in our post focusing on why and how they came up with this idea, you can 3D print the bracket in any material that you have or you can buy an aluminium version.
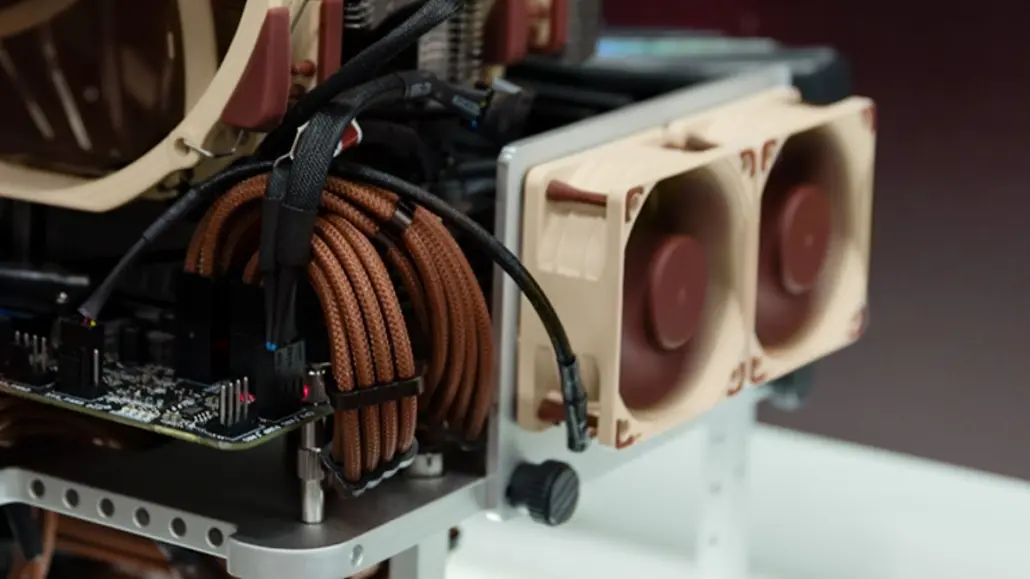
Attach the fans
Attach the fans to the bracket. To mount them, use your prefered way to mount fans, wether it is screws or rubber tighteners.

Extra cooling, extra performance!
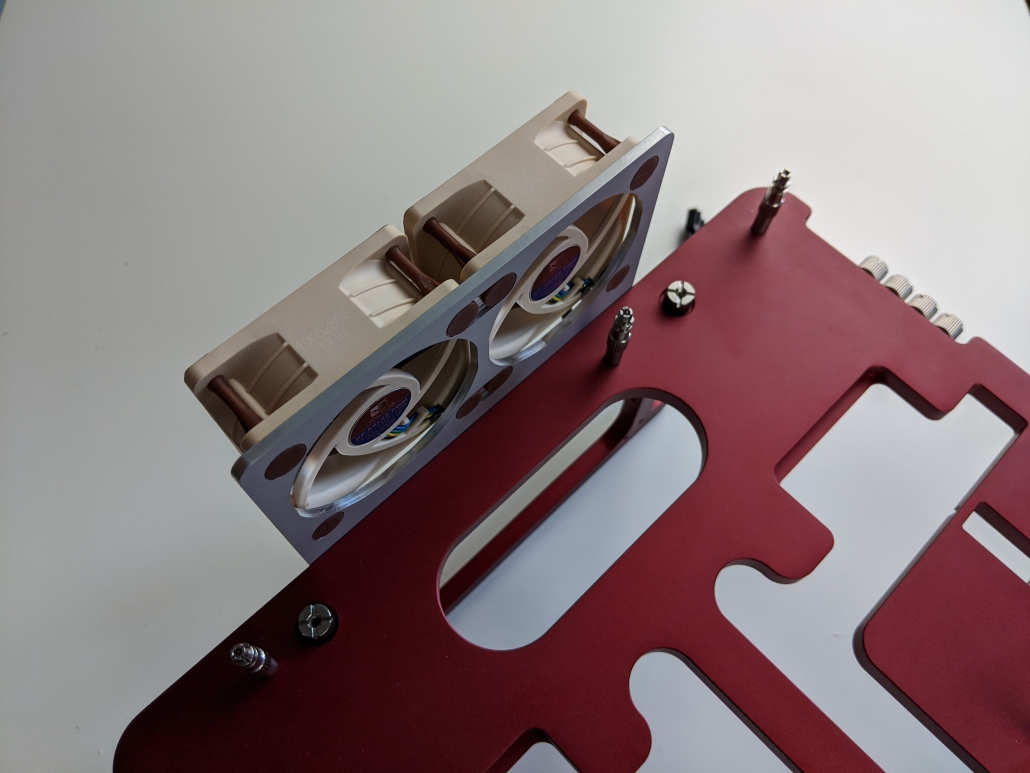
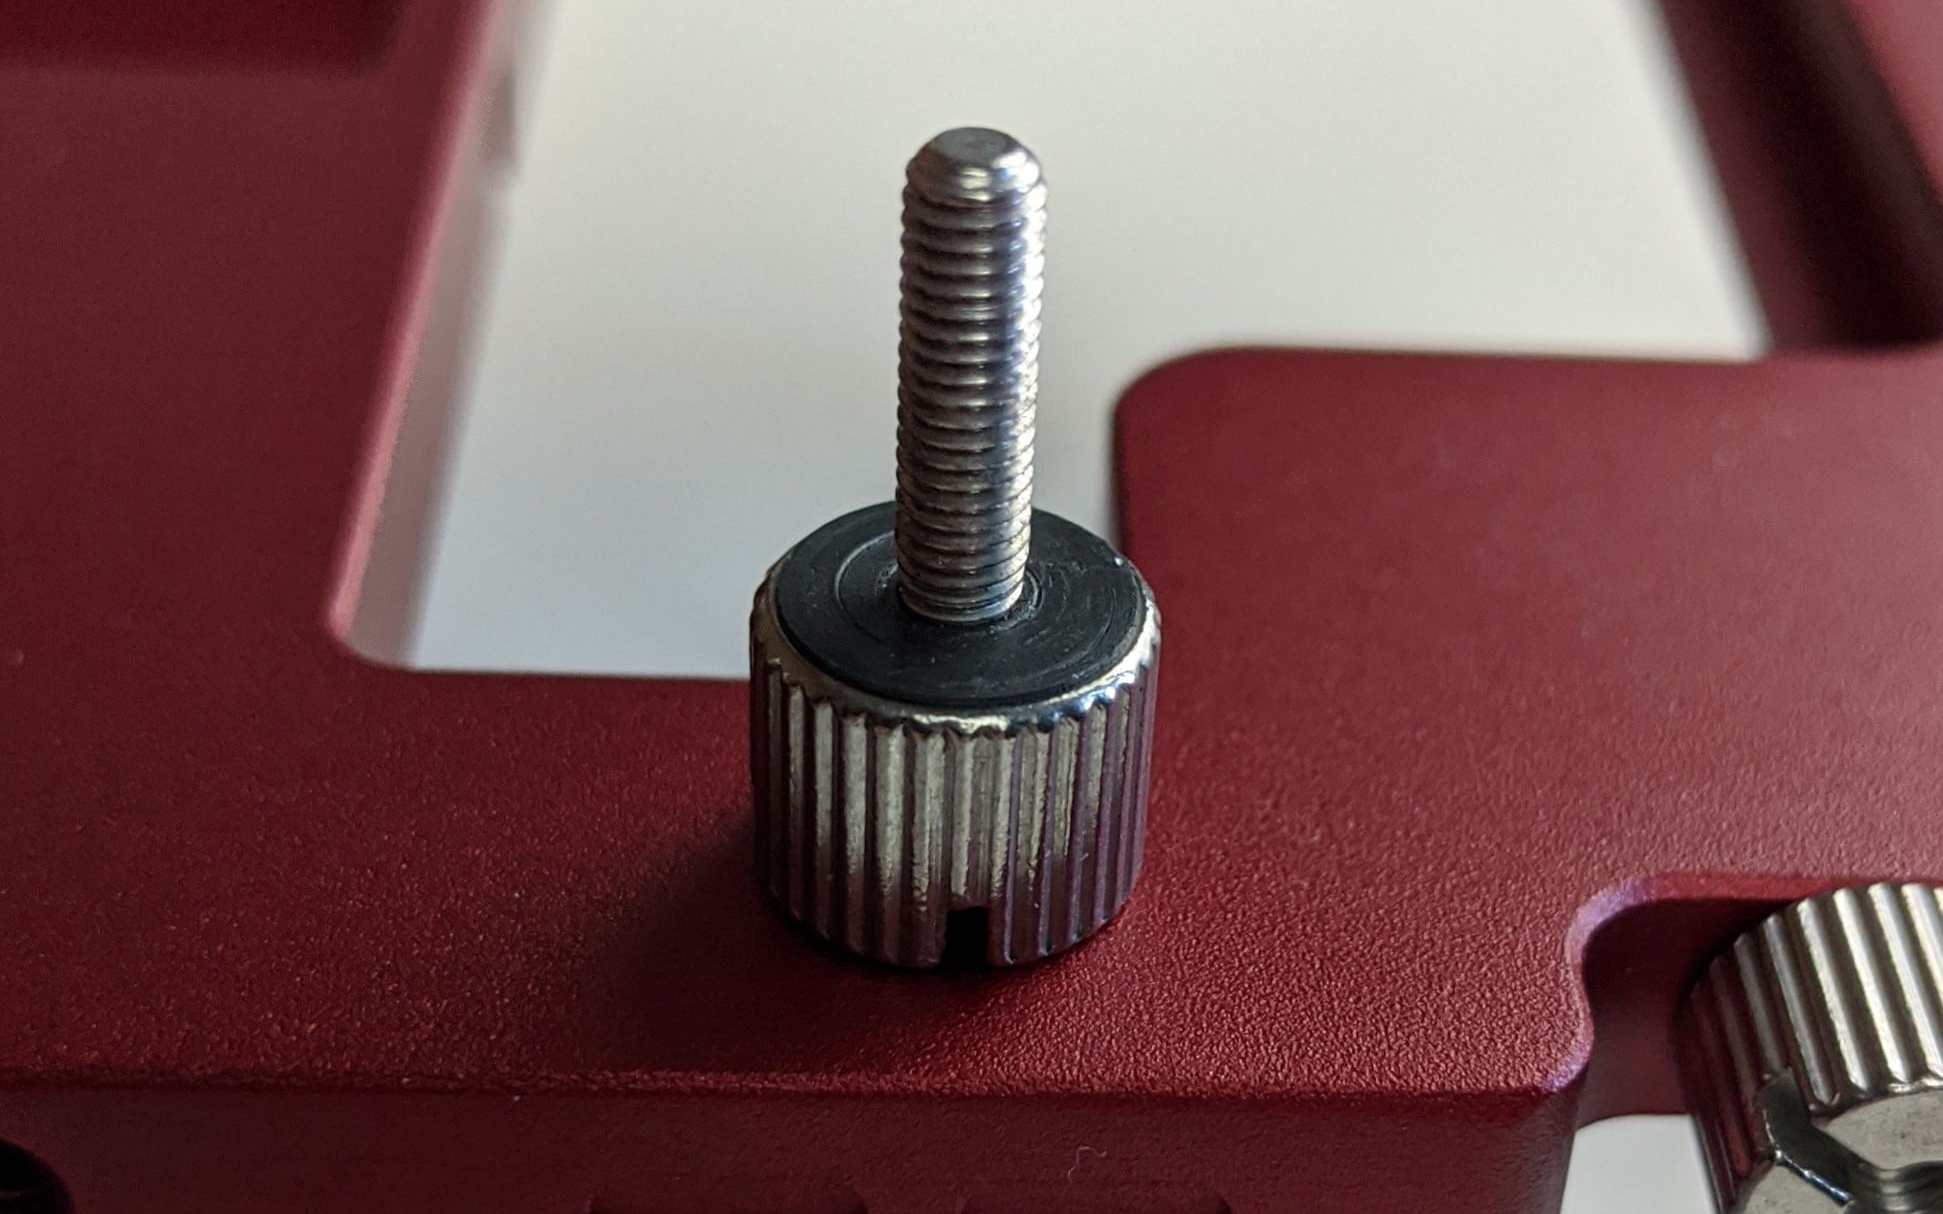
Secure on your Open Benchtable
Pick two M3 screws, from the right side of the Open Benchtable or from the OBT Screw Kit. Attach the VRM cooling add-on with the M3 screws in the holes located on the edge next to the handle.
Connect!
Finish by connecting, the two 4-pins wire on any of the fan port of your motherboard.
Your VRM will probably thank you for this add-on!
This concludes our assembly guide for NOCTUA’s 2X 60MM FAN BRACKET.
Feel free to share with us your builds!


