Announcing the Limited Edition OBT XOC Insulation Foam
Today we’re unveiling a limited edition OBT XOC Insulation Foam designed specifically for extreme overclockers using the Open Benchtable.
Specifically Designed for the Open Benchtable
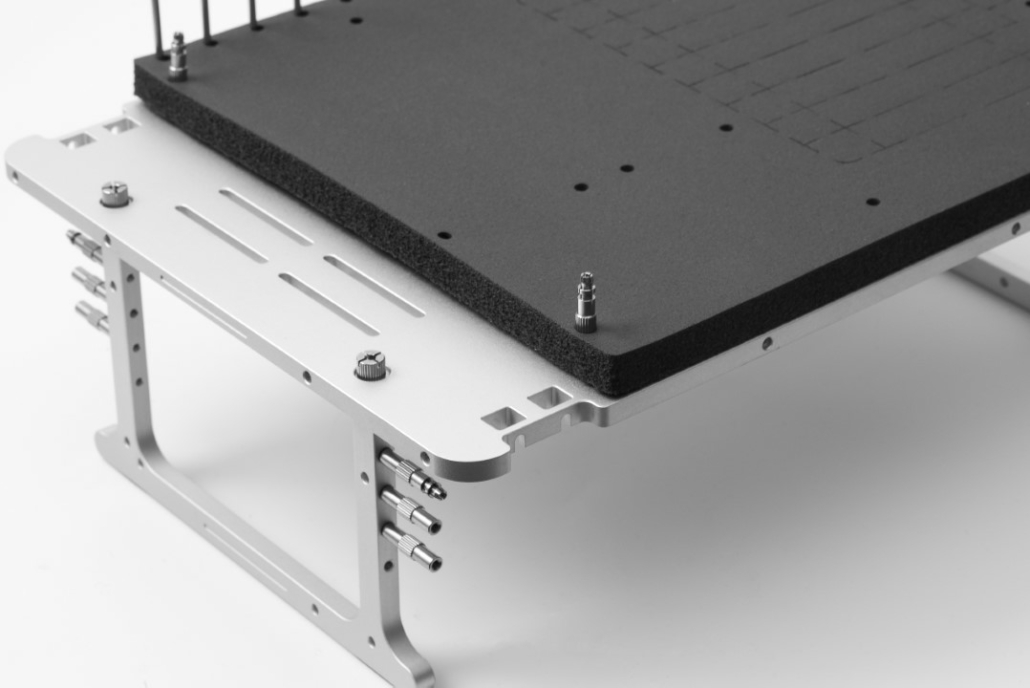
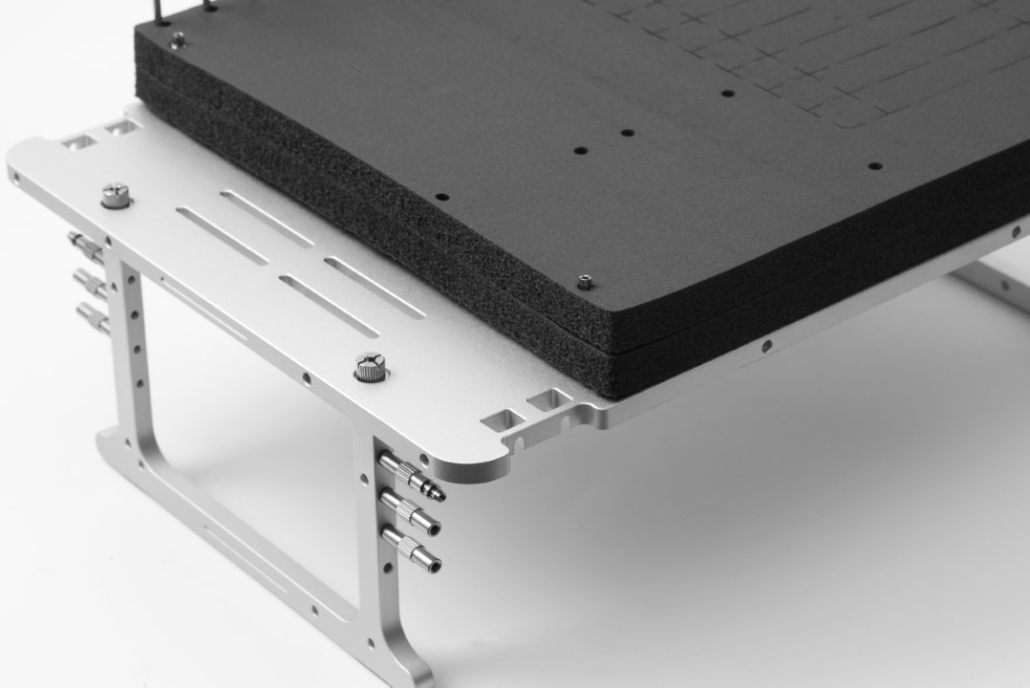
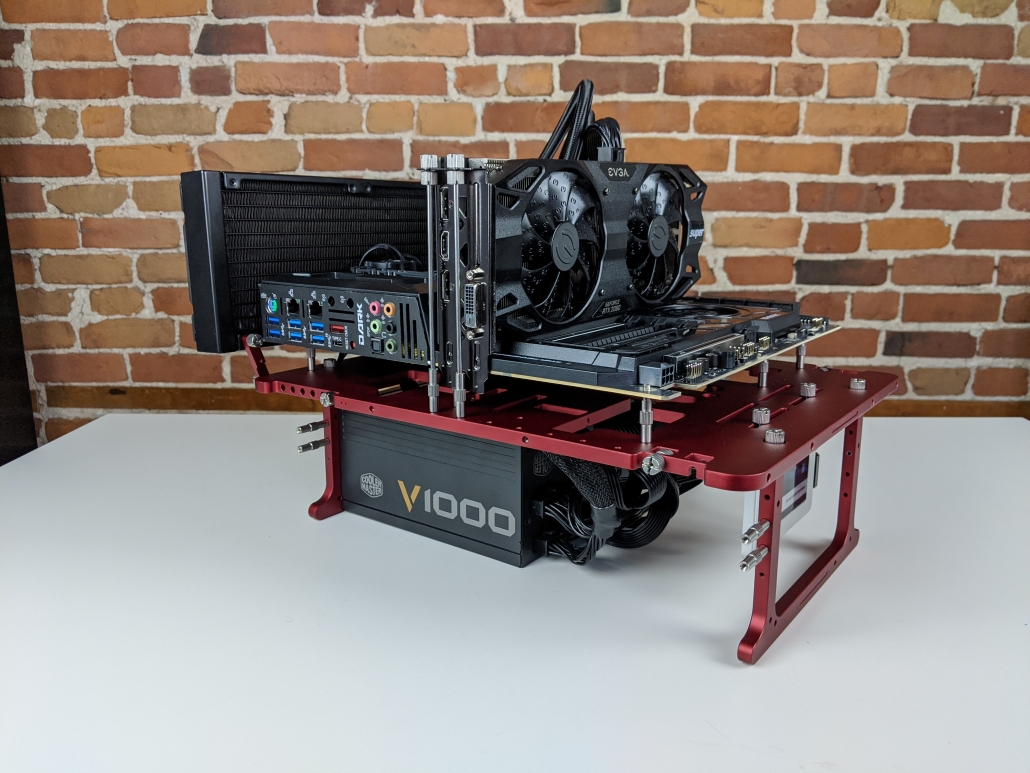
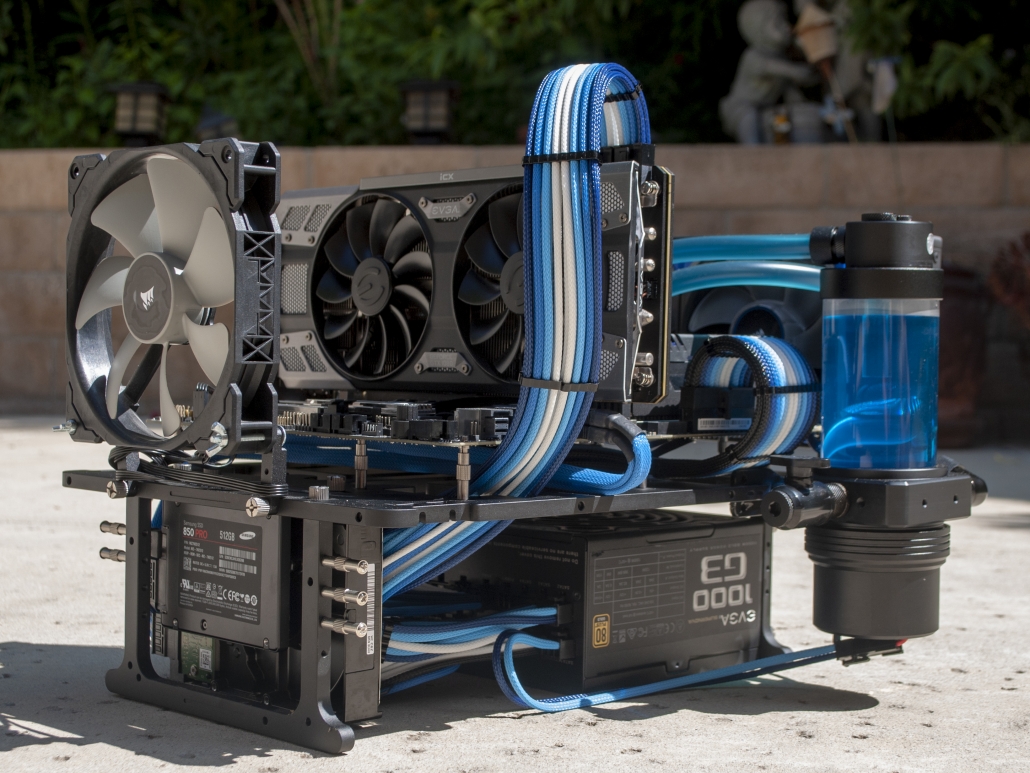
This pre-cut and precisely shaped insulation foam is perfect for any extreme overclocker using the Open Benchtable looking to set up a clean and efficient setup. Here’s why it stands out:
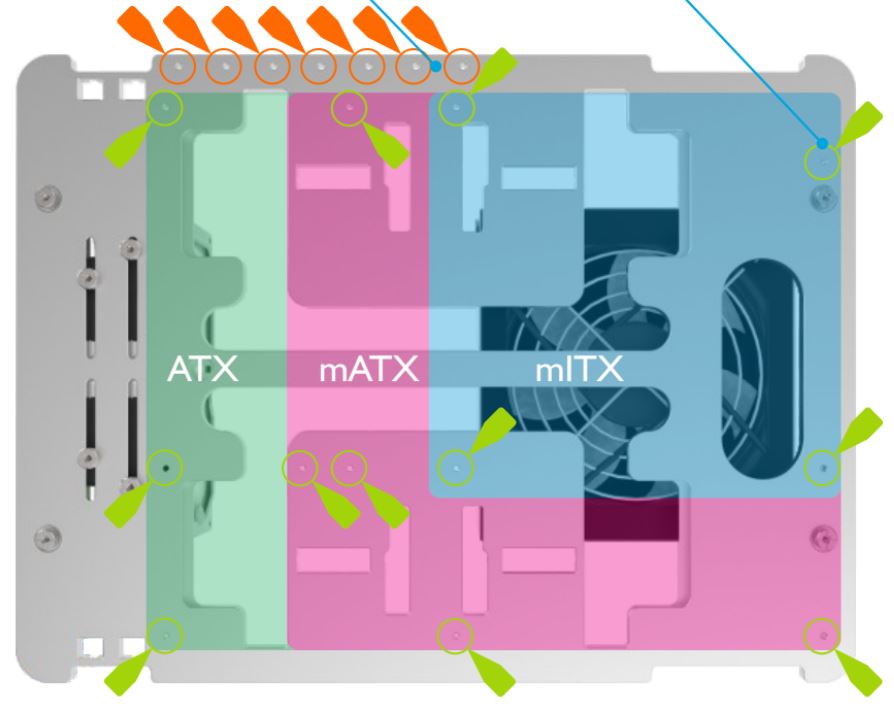
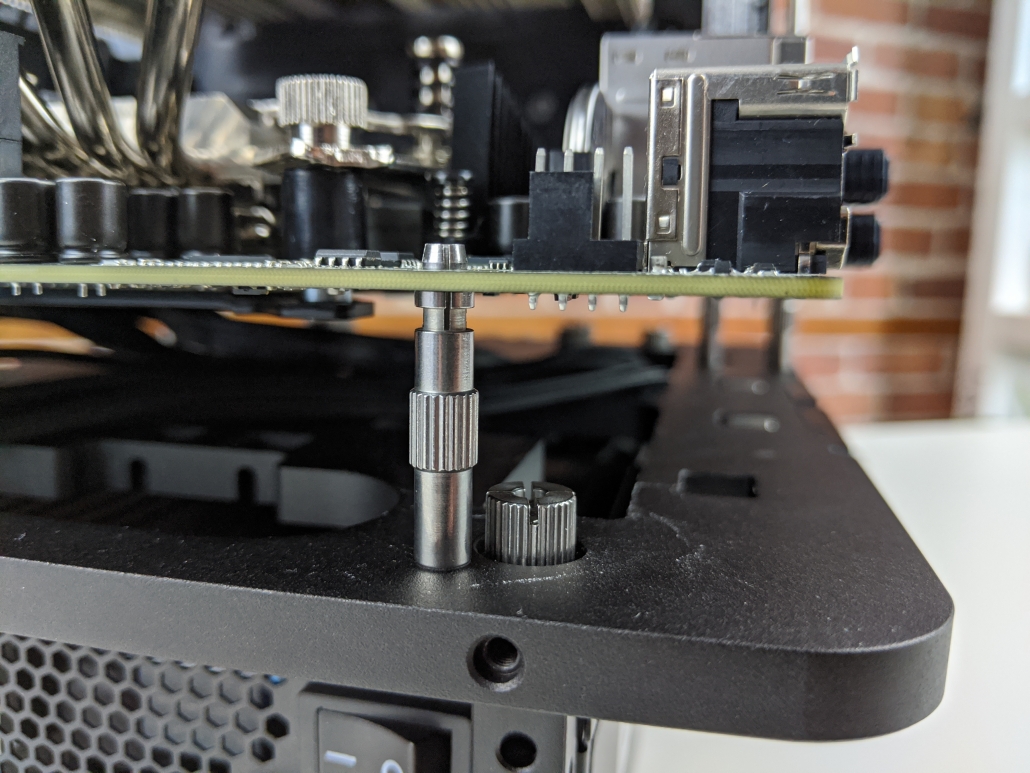
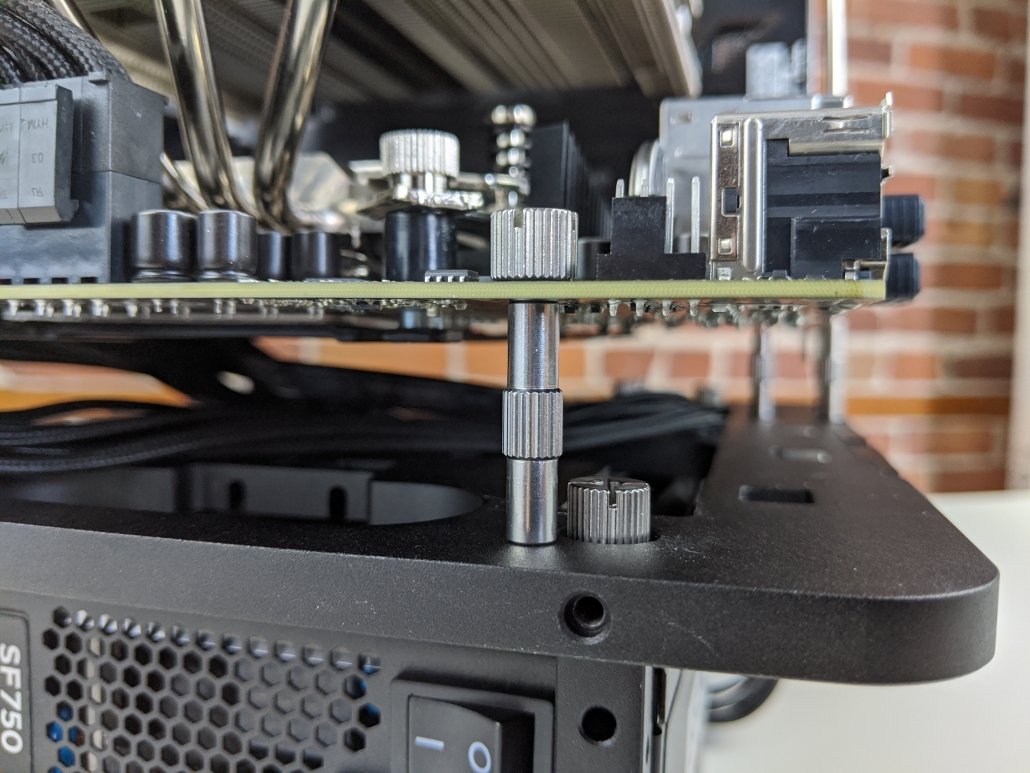
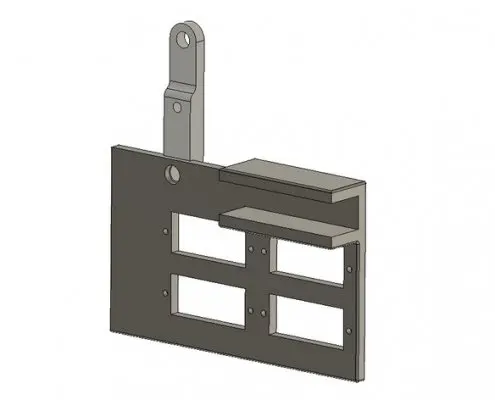
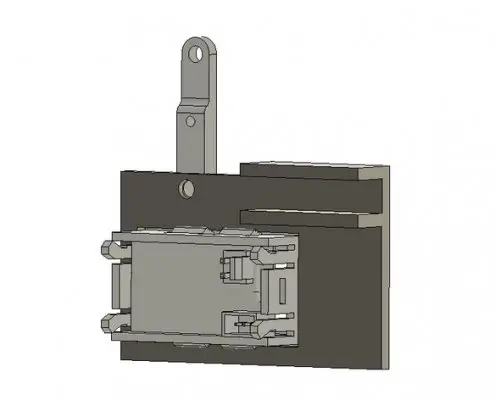
- Compatibility: Precise hole cutouts for all motherboard (ATX, mATX) and PCIe standoff locations, as well as OBT feet mounting holes
- Cut to Shape: compatible with all full-size Open Benchtable models (V1, V1.1, and V2)
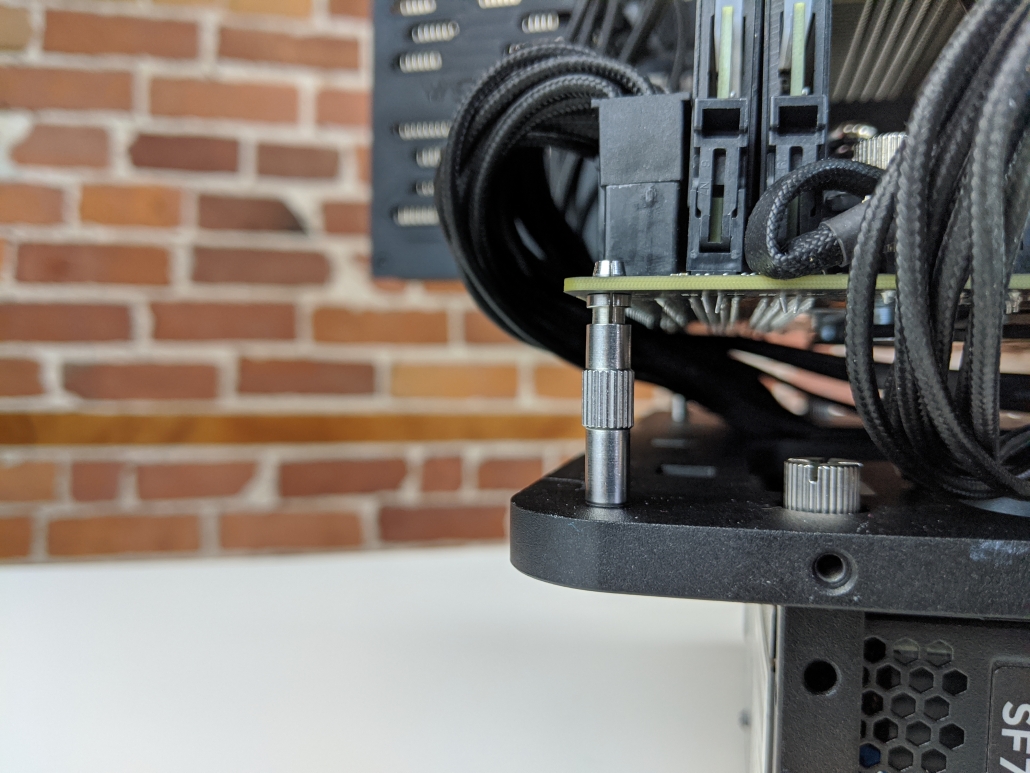
- Mounting Clearance: pre-cut CPU backplate area to support a wide range of LN2 container backplates
- Ease of Use: The foam thickness matches the OBT standoff height for simple installation.
- Re-usability: Made from a trusted and proven material for long-lasting use.

Note : Some backplate heaters might require a custom cut out, you can do so with a sharp cutter. We are working on getting this updated to support more backplate positions for future revision (if any).
Two Types of OBT XOC Insulation Foam
For this limited edition production run, we provide two thickness options:
- A “thick” option, that perfectly match the Open Benchtable stand-off height
- A single/double “thin” option that allow for more customization


The “Thick” option
This is the simplest to use. Get it, slide in on the OBT, remove the pre-cut foam positions for your CPU Ln2 Pot backplate and… that’s it!

The “Thin” option
This option offers the most options for extreme overclockers as it is 2-pieces of half-height foam. The CPU Backplate pre-cut area is the same on both Thin & Thick options.
This option help route cables for the heating backplate elements or be used as a long-term insulation template for a specific motherboard.
Availability
The OBT XOC Insulation Foam is available today on the web shop in extremely limited quantities. But don’t worry! We’ll be following up with everyone who orders this limited-edition foam to gather feedback for a potentially wider release.
The Backstory: A Long and Winding Road
The idea for the special insulation foam came about way back in 2016, after the launch of the OBT Community Edition.
We wanted to create a solution that would not only make XOC setups more efficient but also improve their aesthetics – after all, every rig deserve to look sharp! Here are some of the challenges we faced in bringing this idea to life:
- Balancing Compatibility: Accommodating a wide range of motherboard socket positions and CPU backplates turned out to be a complex task.
- Material Selection: Finding the right balance of insulation, re-usability, and laser-cutting compatibility proved difficult.
- Production Method: Both laser cutting and water jet cutting had their pros and cons. Ultimately, we opted for water jet cutting for this initial production run.
We’ll talk more about the development story in a future blog post. For now, this first batch is an extremely limited run. But based on your interest and feedback, we definitely consider turning it into a regular product. We’re eager to hear your feedback on how we can improve it further!


 PKKShadow
 PKKShadow
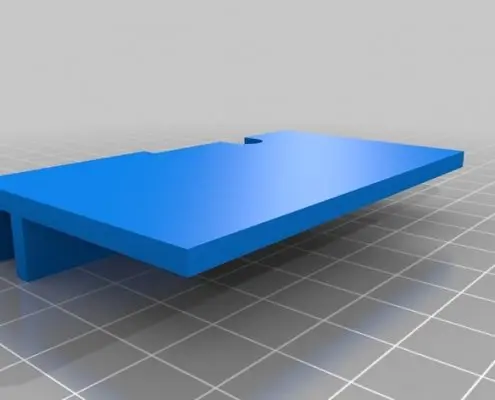
 PKKShadow